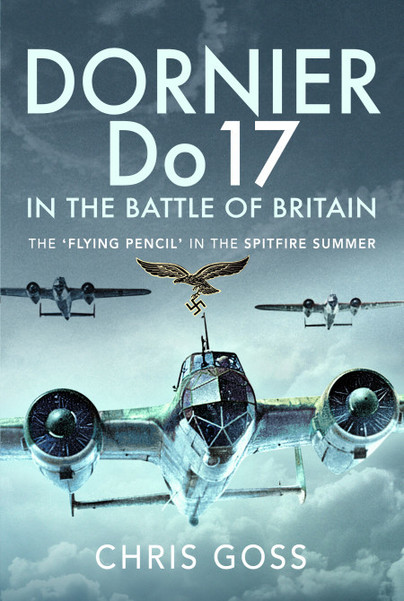
Author Guest Post: Chris Goss
DORNIERS OVER KENLEY
To mark the publication of his latest book, Dornier Do 17 in the Battle of Britain, Chris Goss explores the events of 18 August 1940, when a force of Do 17s undertook one of the most famous Luftwaffe attacks of the Battle of Britain.
In the years that followed, Sunday, 18 August 1940, came to be known as ‘The Hardest Day’. It was also the day when, just after lunchtime, a force of Dornier Do 17s of KG 76 carried out what was intended to be ‘a spectacular attack’ on RAF Kenley. The intention was that Junkers Ju 88s from II./KG 76 would attack Kenley first, followed by 9./KG 76, which would carry out a low-level raid, while the remaining Do 17s of I and III./KG 76 would strike in a final wave.
Sonderführer Willi Perchemeier was one of eight war reporters or cameramen flying with KG 76 that day. He recalled what happened to him and the 5./KG 76 crew of Feldwebel Karl Krebs that he was with: ‘The target was Kenley aerodrome … it was intended our Ju 88 Gruppe would lure away British fighters and Flak attention from another Do 17 Staffel which would attack at low-level. In addition we would then dive bomb the target. We flew at 4,000 metres and a short time after the Flak stopped, the fighters appeared. One of them hit our port engine which immediately burst into flames.’
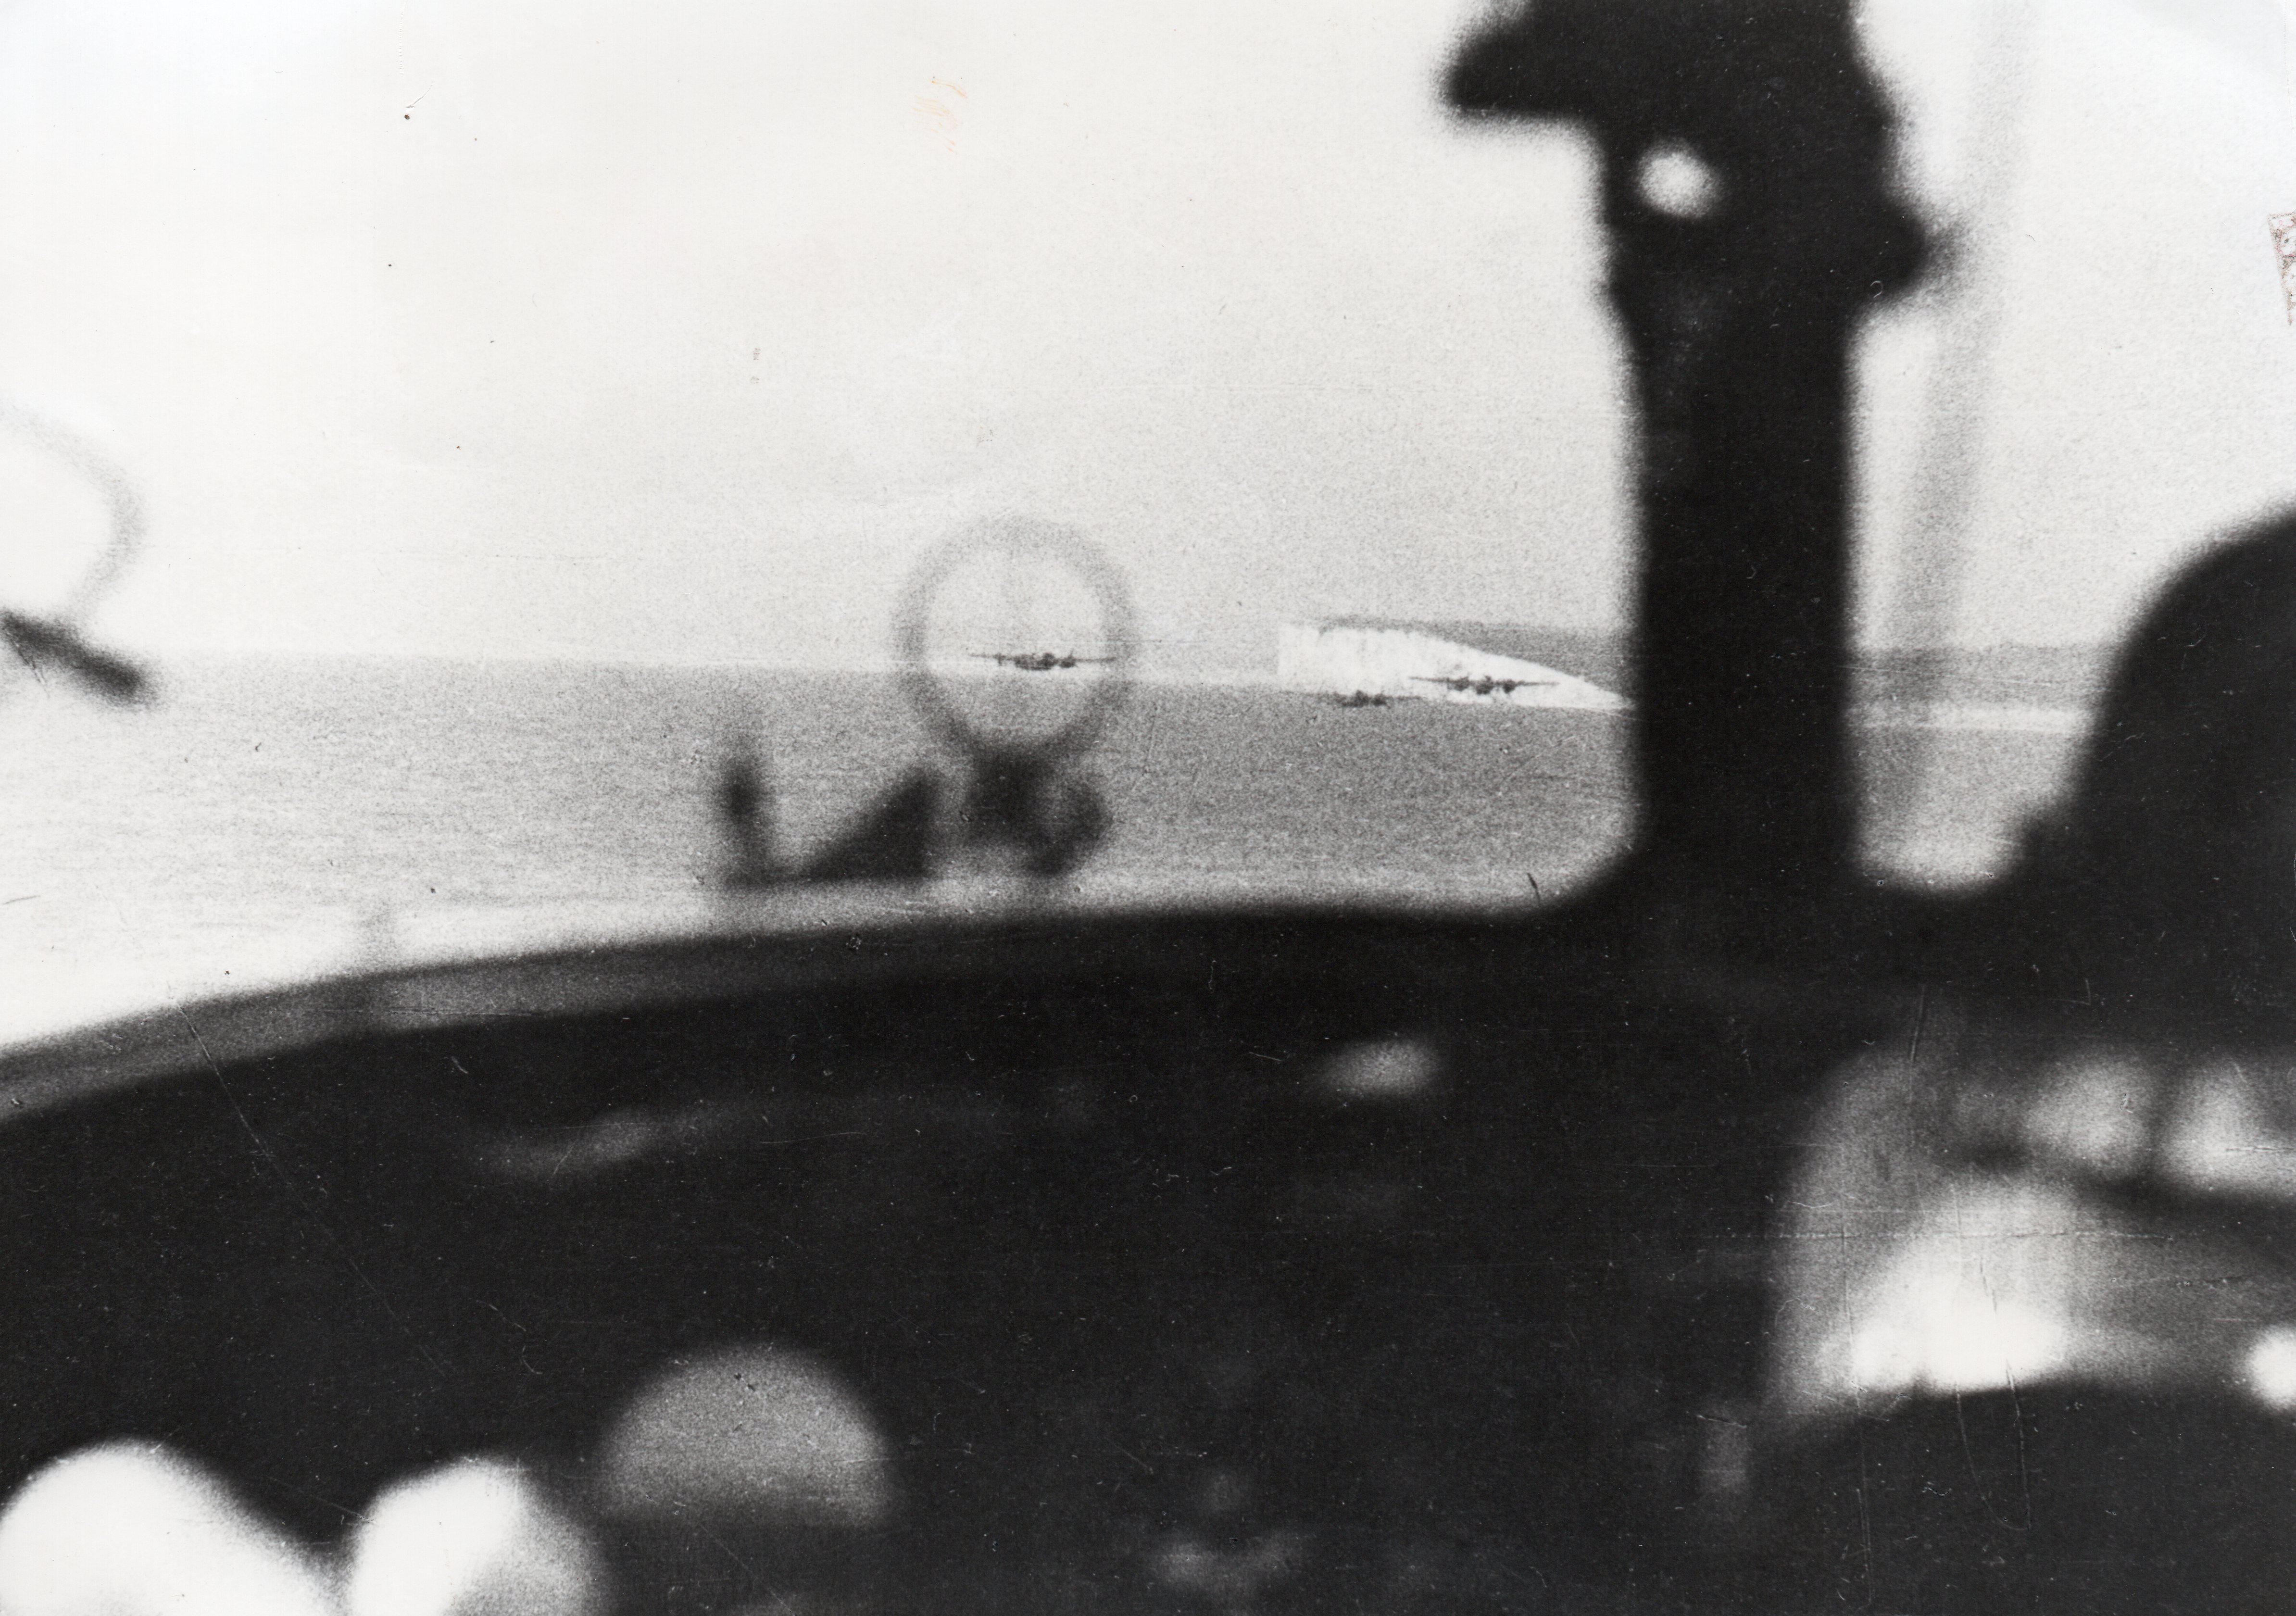
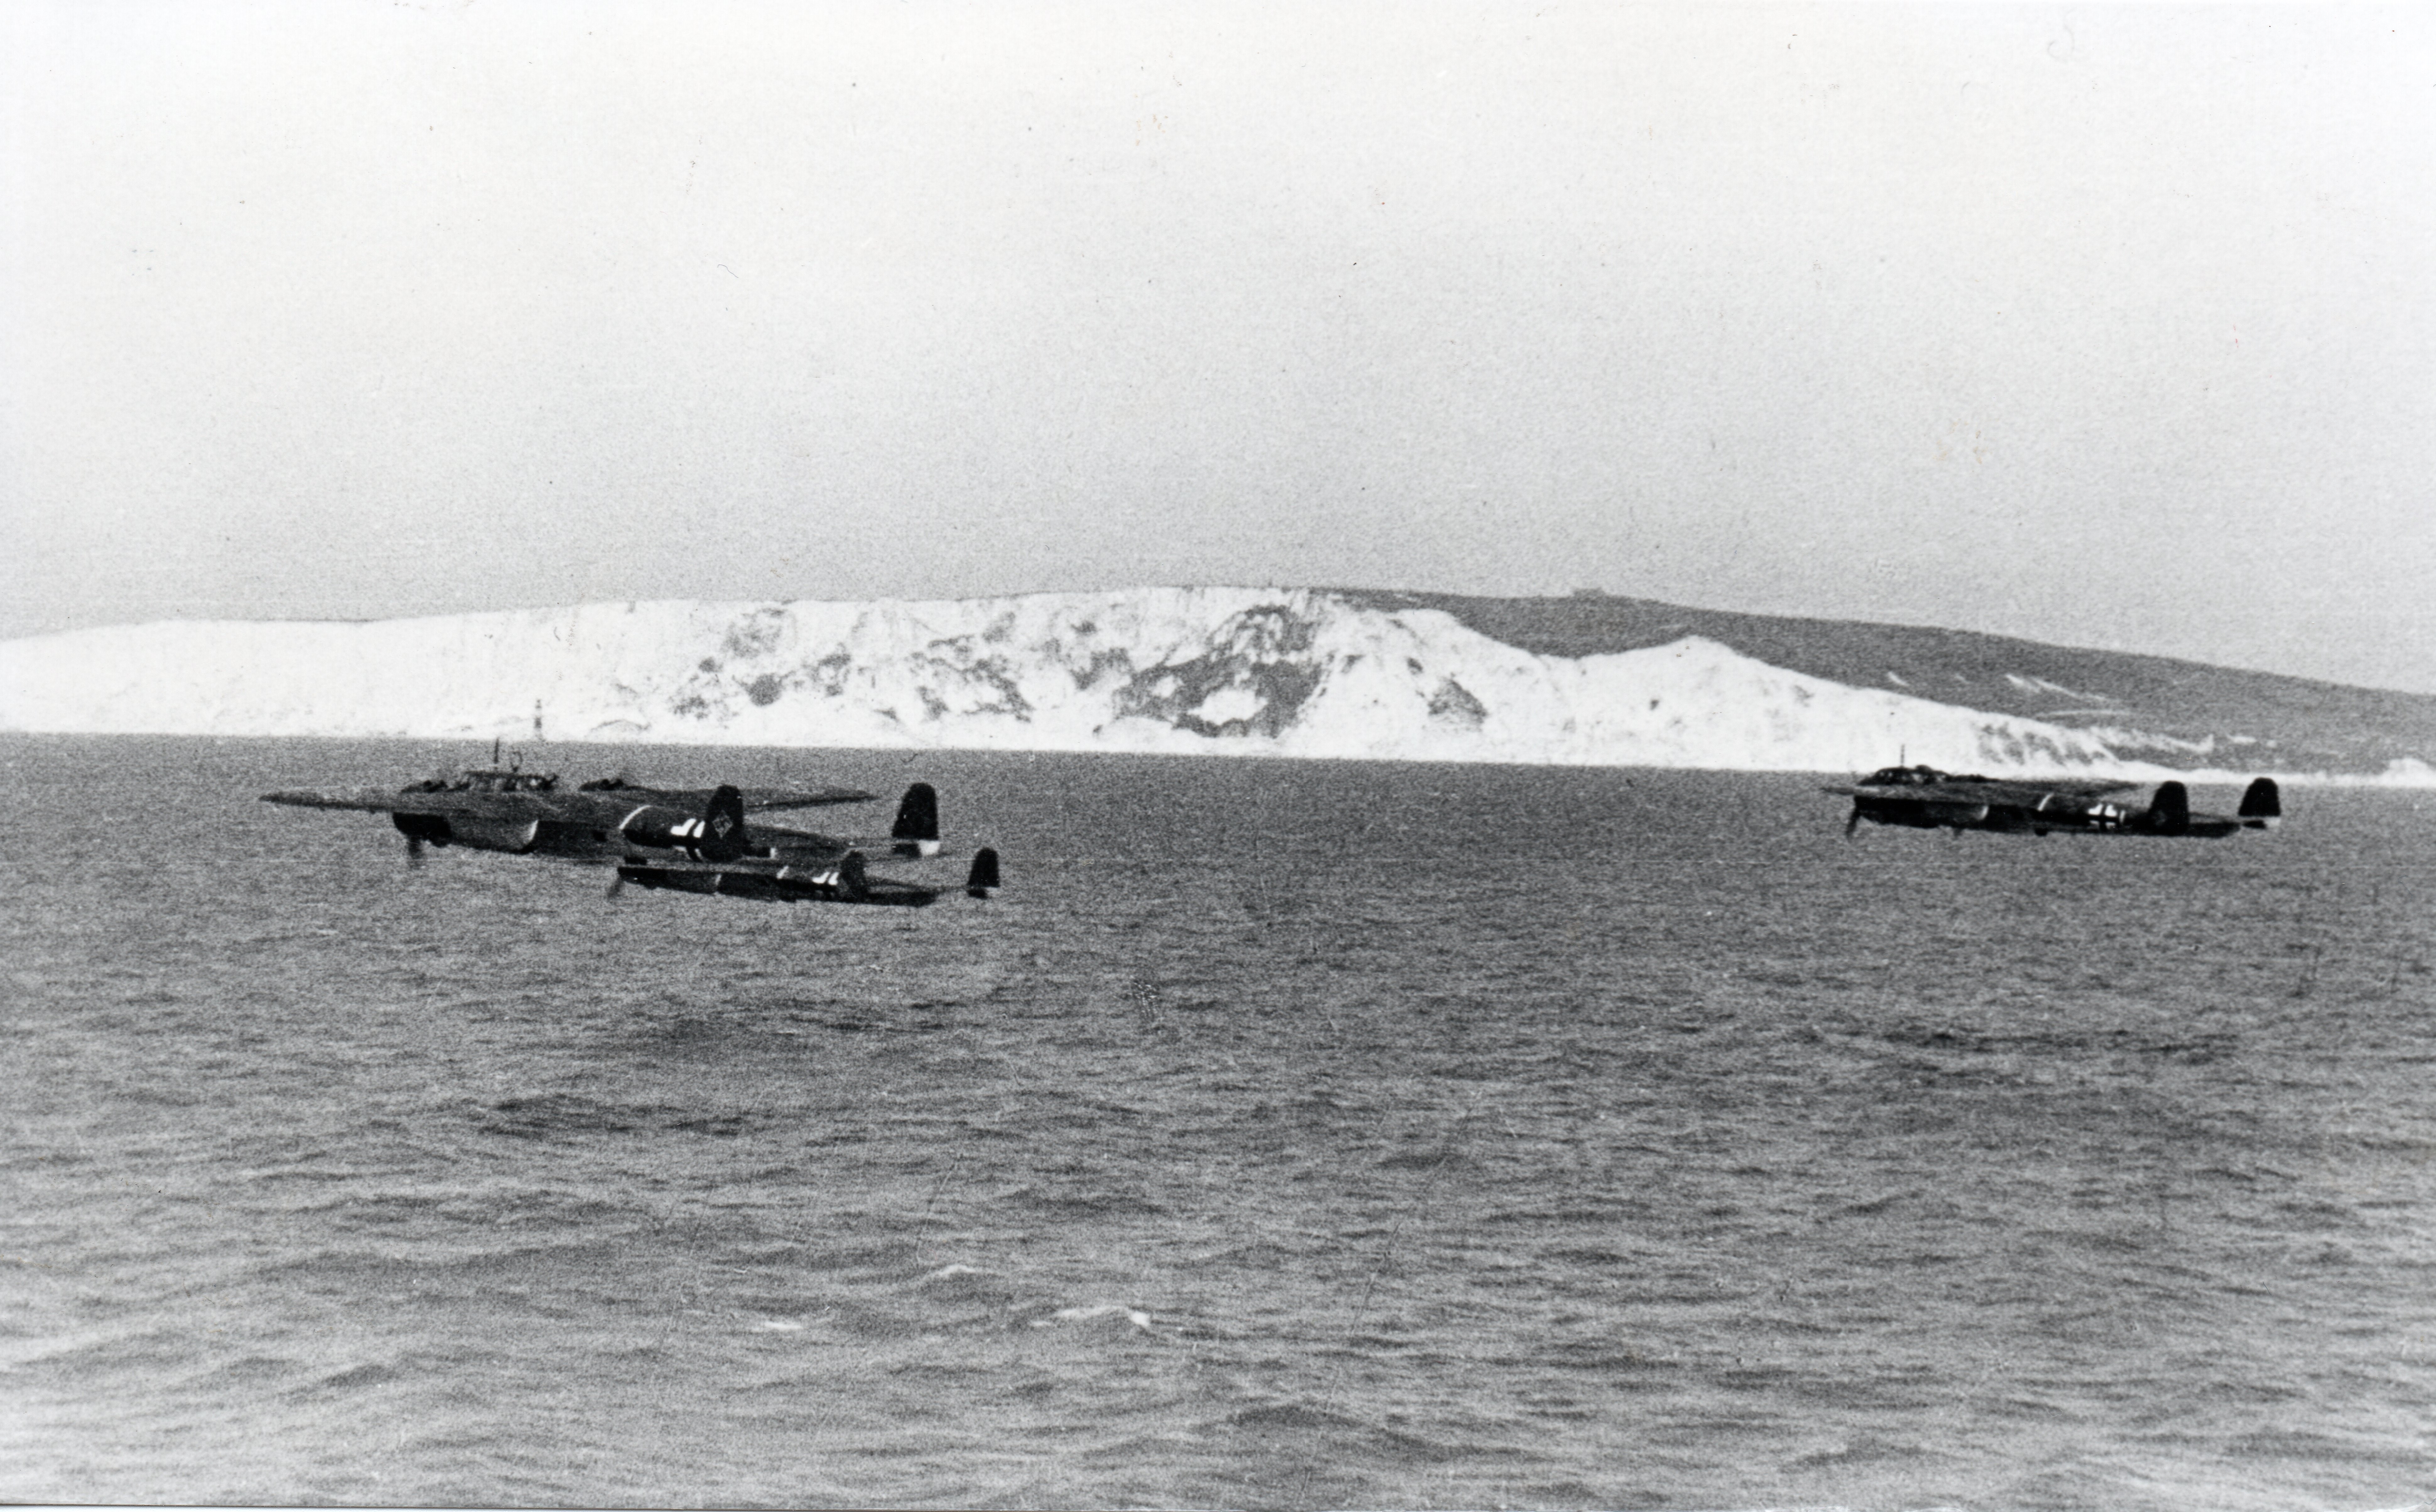
The route followed by the Do 17 attackers clipped Beachy Head, after which the bombers turned in over the cliffs to the east of Seaford and headed on northwards towards the town of Burgess Hill. War reporter Sonderführer Rolf von Pebal was able to take a series of photographs of the approach – providing a fascinating record of the attack.
The rest of the approach was uneventful, but as Kenley came into sight, 111 Squadron came into attack. Twelve Hurricanes led by Flight Lieutenant Stanley Connors spotted the Do 17s at 50ft and gave chase. Connors, who was joined by Pilot Officer Peter Simpson, managed to latch onto the lead Kette, only to be shot at by the gunners of all three Do 17s.
With his Hurricane damaged by either return fire or ground fire, Connors broke away and, on fire, crashed near Leaves Green, his body being thrown from the wreck. Simpson was luckier; albeit wounded in the foot, he managed to successfully force-land on Woodcote Park Golf Club at Epsom.
Ground defences, which included Parachute and Cable (PAC) equipment that fired steel cables which were then held aloft by a parachute, were quickly in action. The first German aircraft to be mortally damaged was that flown by Feldwebel Johannes Petersen, who was leading the left-hand Kette. Flying slightly higher than the others, it was singled out by ground fire and was soon ablaze. The bomber then ran into one of the parachute cables and plunged into the garden of Sunnycroft, a house on the edge of the airfield in Golf Road, Kenley. All of the crew were killed.
At the same time, a burst of gunfire hit the port engine of Unteroffizier Günther Unger’s bomber. Flying low-level, he struggled to keep control. The same fate had befallen Unteroffizier Bernhard Schumacher’s aircraft, and its port engine was left belching brown smoke.
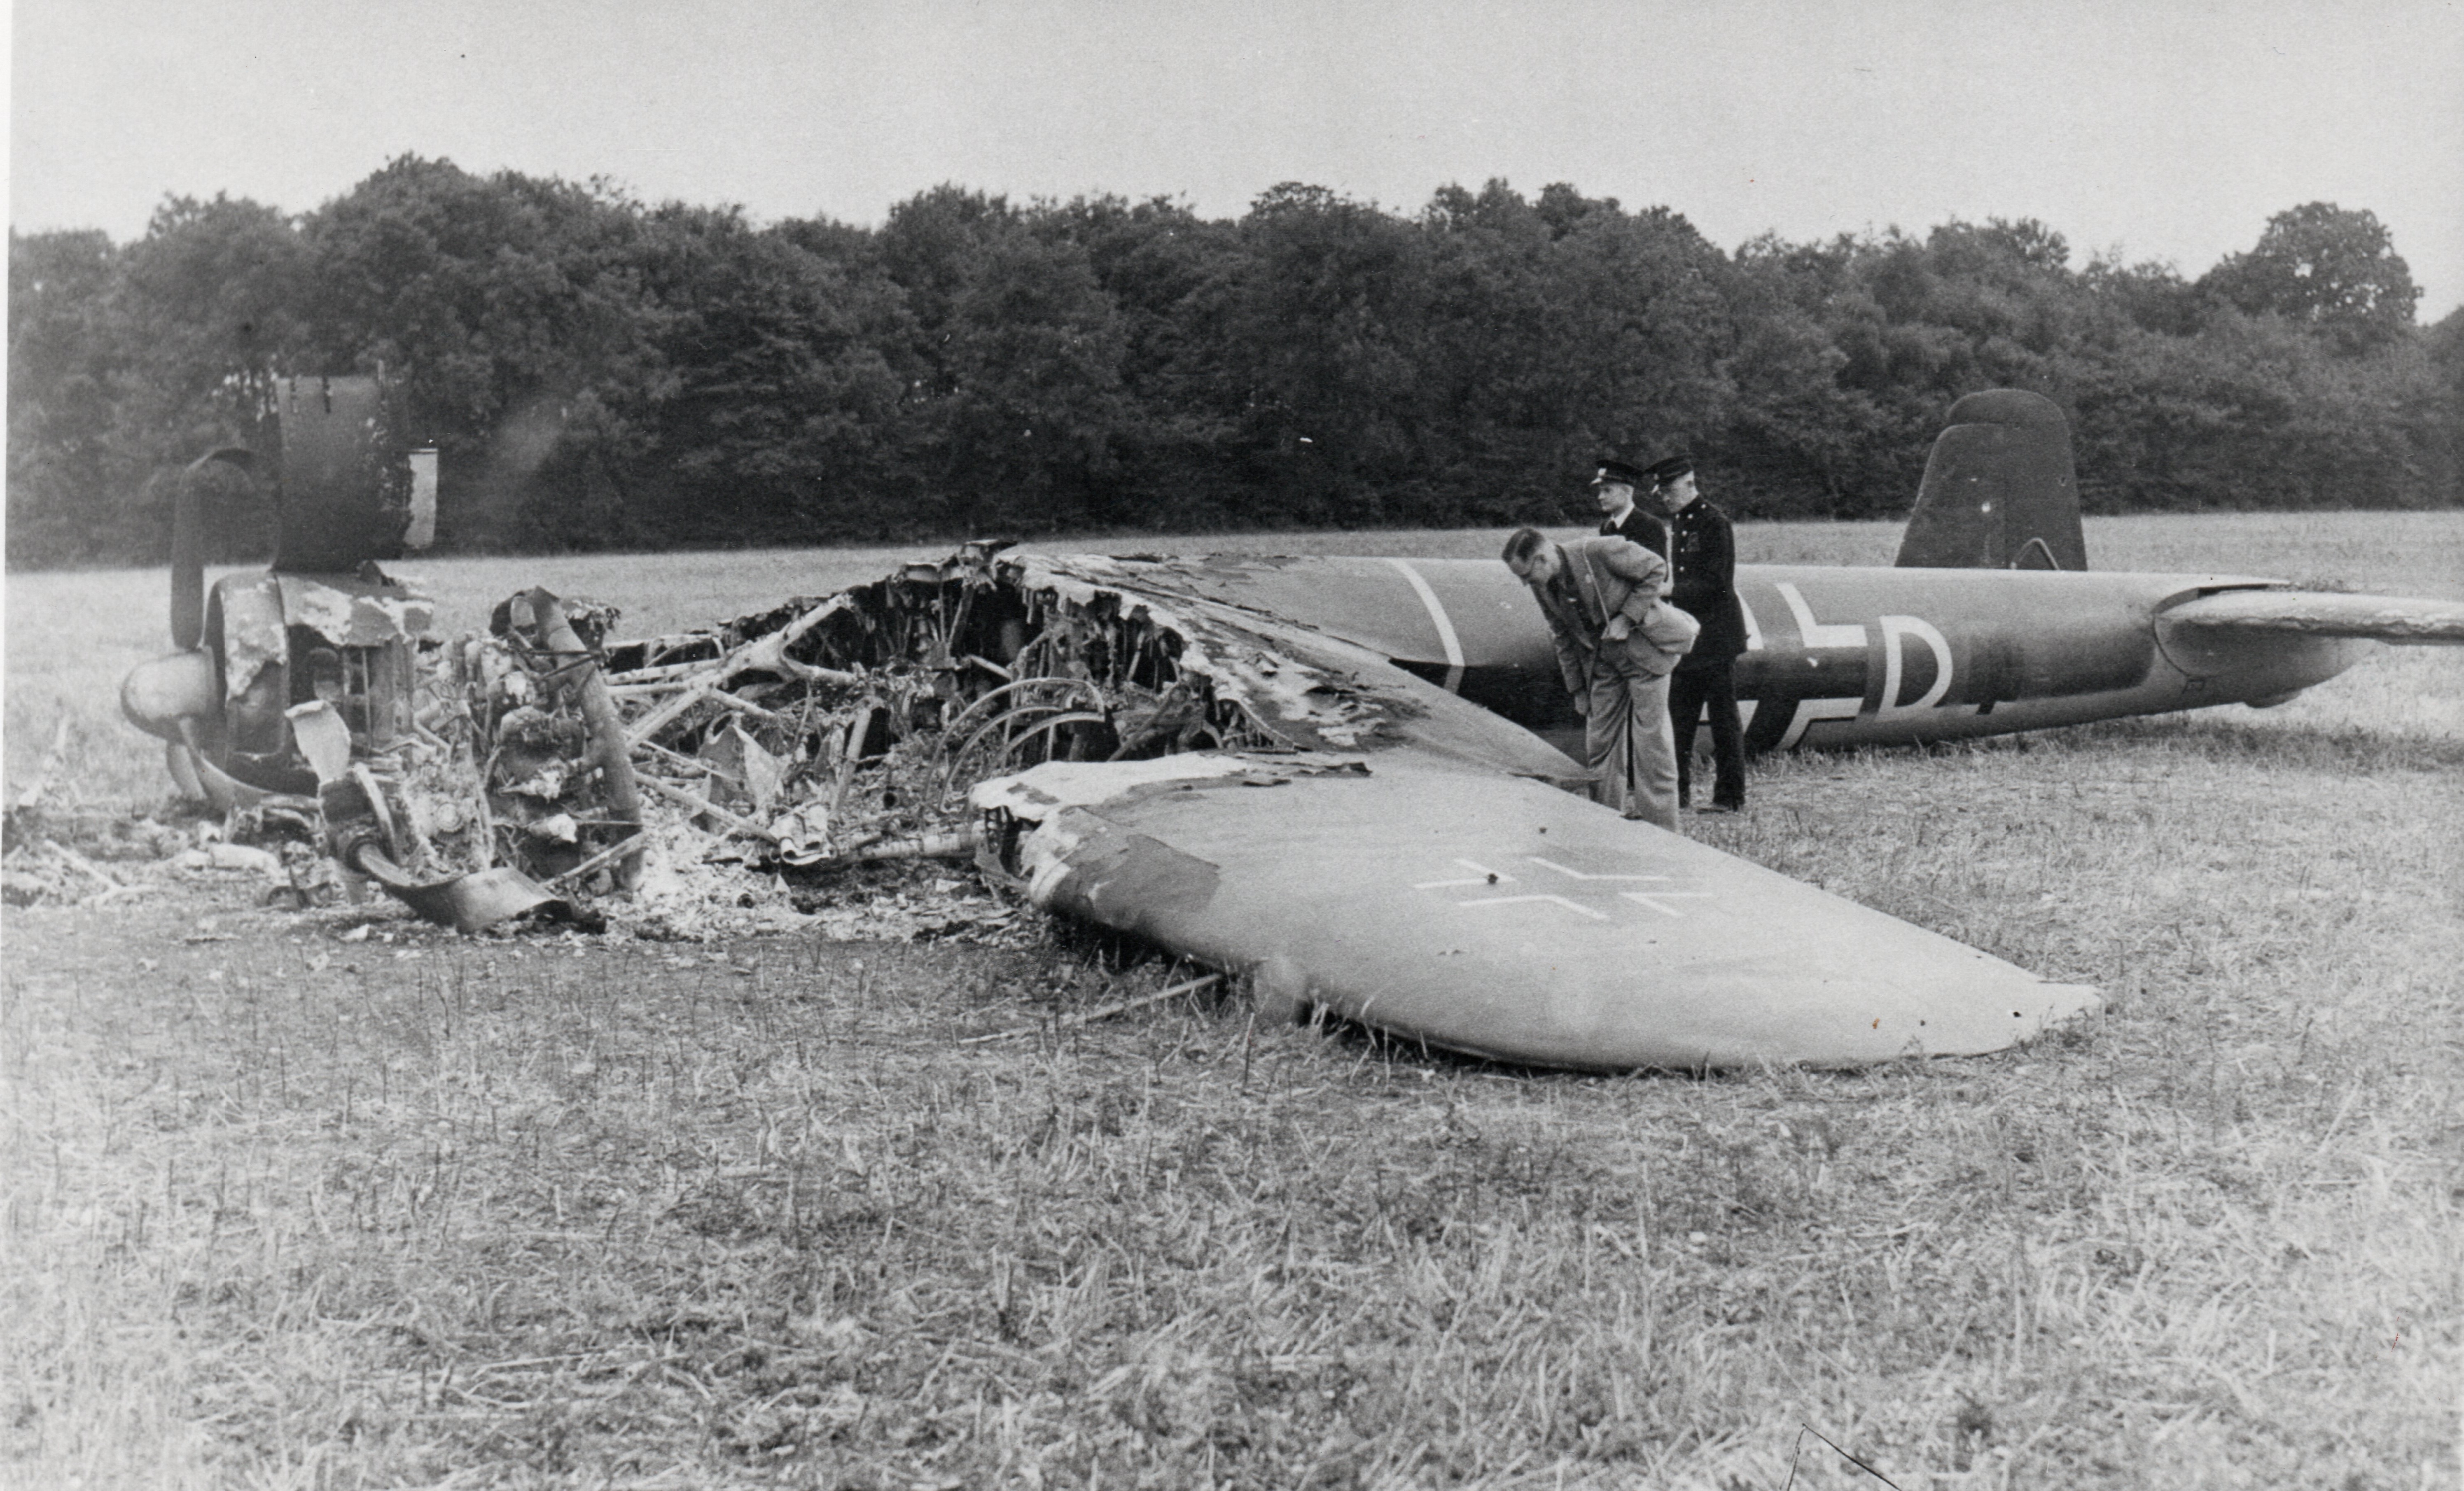
Meanwhile, the lead Do 17 had been forced to pull up due to the PACs, which allowed a Bofors gunner to hit the bomber’s port wing, rupturing a fuel tank, at which point the fuel caught alight. As its pilot, Rudolf Lamberty, struggled to get away from Kenley and banked right, the flames got stronger.

It was then that Hurricanes flown by Sergeant Bill Dymond and Sergeant Ron Brown of 111 Squadron (which would be joined by the Spitfire of Squadron Leader Aeneas MacDonell of 64 Squadron) closed in for an attack. Their first pass further damaged the Dornier, forcing Lamberty to immediately crash-land his burning bomber near Biggin Hill where he and his four crew were quickly captured, all of them being wounded or injured.
Nevertheless, three hangars and numerous other buildings were destroyed in the attack. Likewise, the telephone system was cut, and a number of 615 Squadron’s Hurricanes and a Blenheim were destroyed. Nine airmen, mainly from Nos. 64 and 615 Squadrons, were killed and another seven wounded.
The attack came at a cost to KG 76. In addition to two Ju 88s from II./KG 76 (which included the one in which Perchemeier was flying), I Gruppe suffered the loss of one aircraft over England with another two damaged (three killed, two captured and three wounded). But it was III Gruppe, and, in particular, 9 Staffel, that suffered badly.
Leutnant Ernst Leder of 8 Staffel came down in the Channel; he and two crew were killed, two others being rescued. In 9 Staffel, two aircraft, including that commanded by the Staffelkapitän Hauptmann Joachim Roth, came down on British soil whilst another two came down in the Channel. A further five returned with varying degrees of damage. In terms of the human cost, 9 Staffel suffered seven killed, four captured and eight wounded. This was a larger than normal number due to a number of personnel having participated in the raid in order to gain operational experience; namely Oberst Dr Otto Sommer (who was killed flying with the aircraft commanded by Obrleutnant Hans-Siegfried Ahrends) and Hauptmann Gustav Peters (who was captured as part of Hauptmann Roth’s crew).
There was one more casualty – Oberleutnant Hermann Magin. Magin was mortally wounded when a bullet fired from the ground hit him in the chest. His Beobachter, Oberfeldwebel Wilhelm-Friedrich Illg, leant over him, grabbed the control column and got the bomber into a climb and then he levelled it out so that they could bale out.
Illg then discovered that he could not turn the aircraft as Magin’s legs were jammed against the rudder pedals and they were headed for central London. Feldwebel Willi Henke and Sonderführer Georg Hinze managed to lift Magin’s body out of the seat, at which point Illg took his place. He managed to turn the Do 17 to the south, still having to avoid being hit by Flak.
The crew, which included Unteroffizier Hans Strahlendorf, took stock; it was clear that Magin was very seriously wounded, the bullet having smashed the left arm and entered the left of the chest. Already his flying suit was soaked with blood.
They crossed the Channel without incident and aimed to make a wheels down landing at St Omer. It took four attempts, but Illg eventually succeeded in landing at Rely/Norrent Fontes. Magin never regained consciousness and died before he could get to hospital.
For his actions that day, Illg, who had never flown a Do 17 before, was recommended for the Ritterkreuz and promotion to an officer rank. Before he could receive these, he too was shot down and taken prisoner on the first day of the following month.
Order your copy here.