Craft Your Own Cosy Scandi Christmas
Author guest post from Becci Coombes.

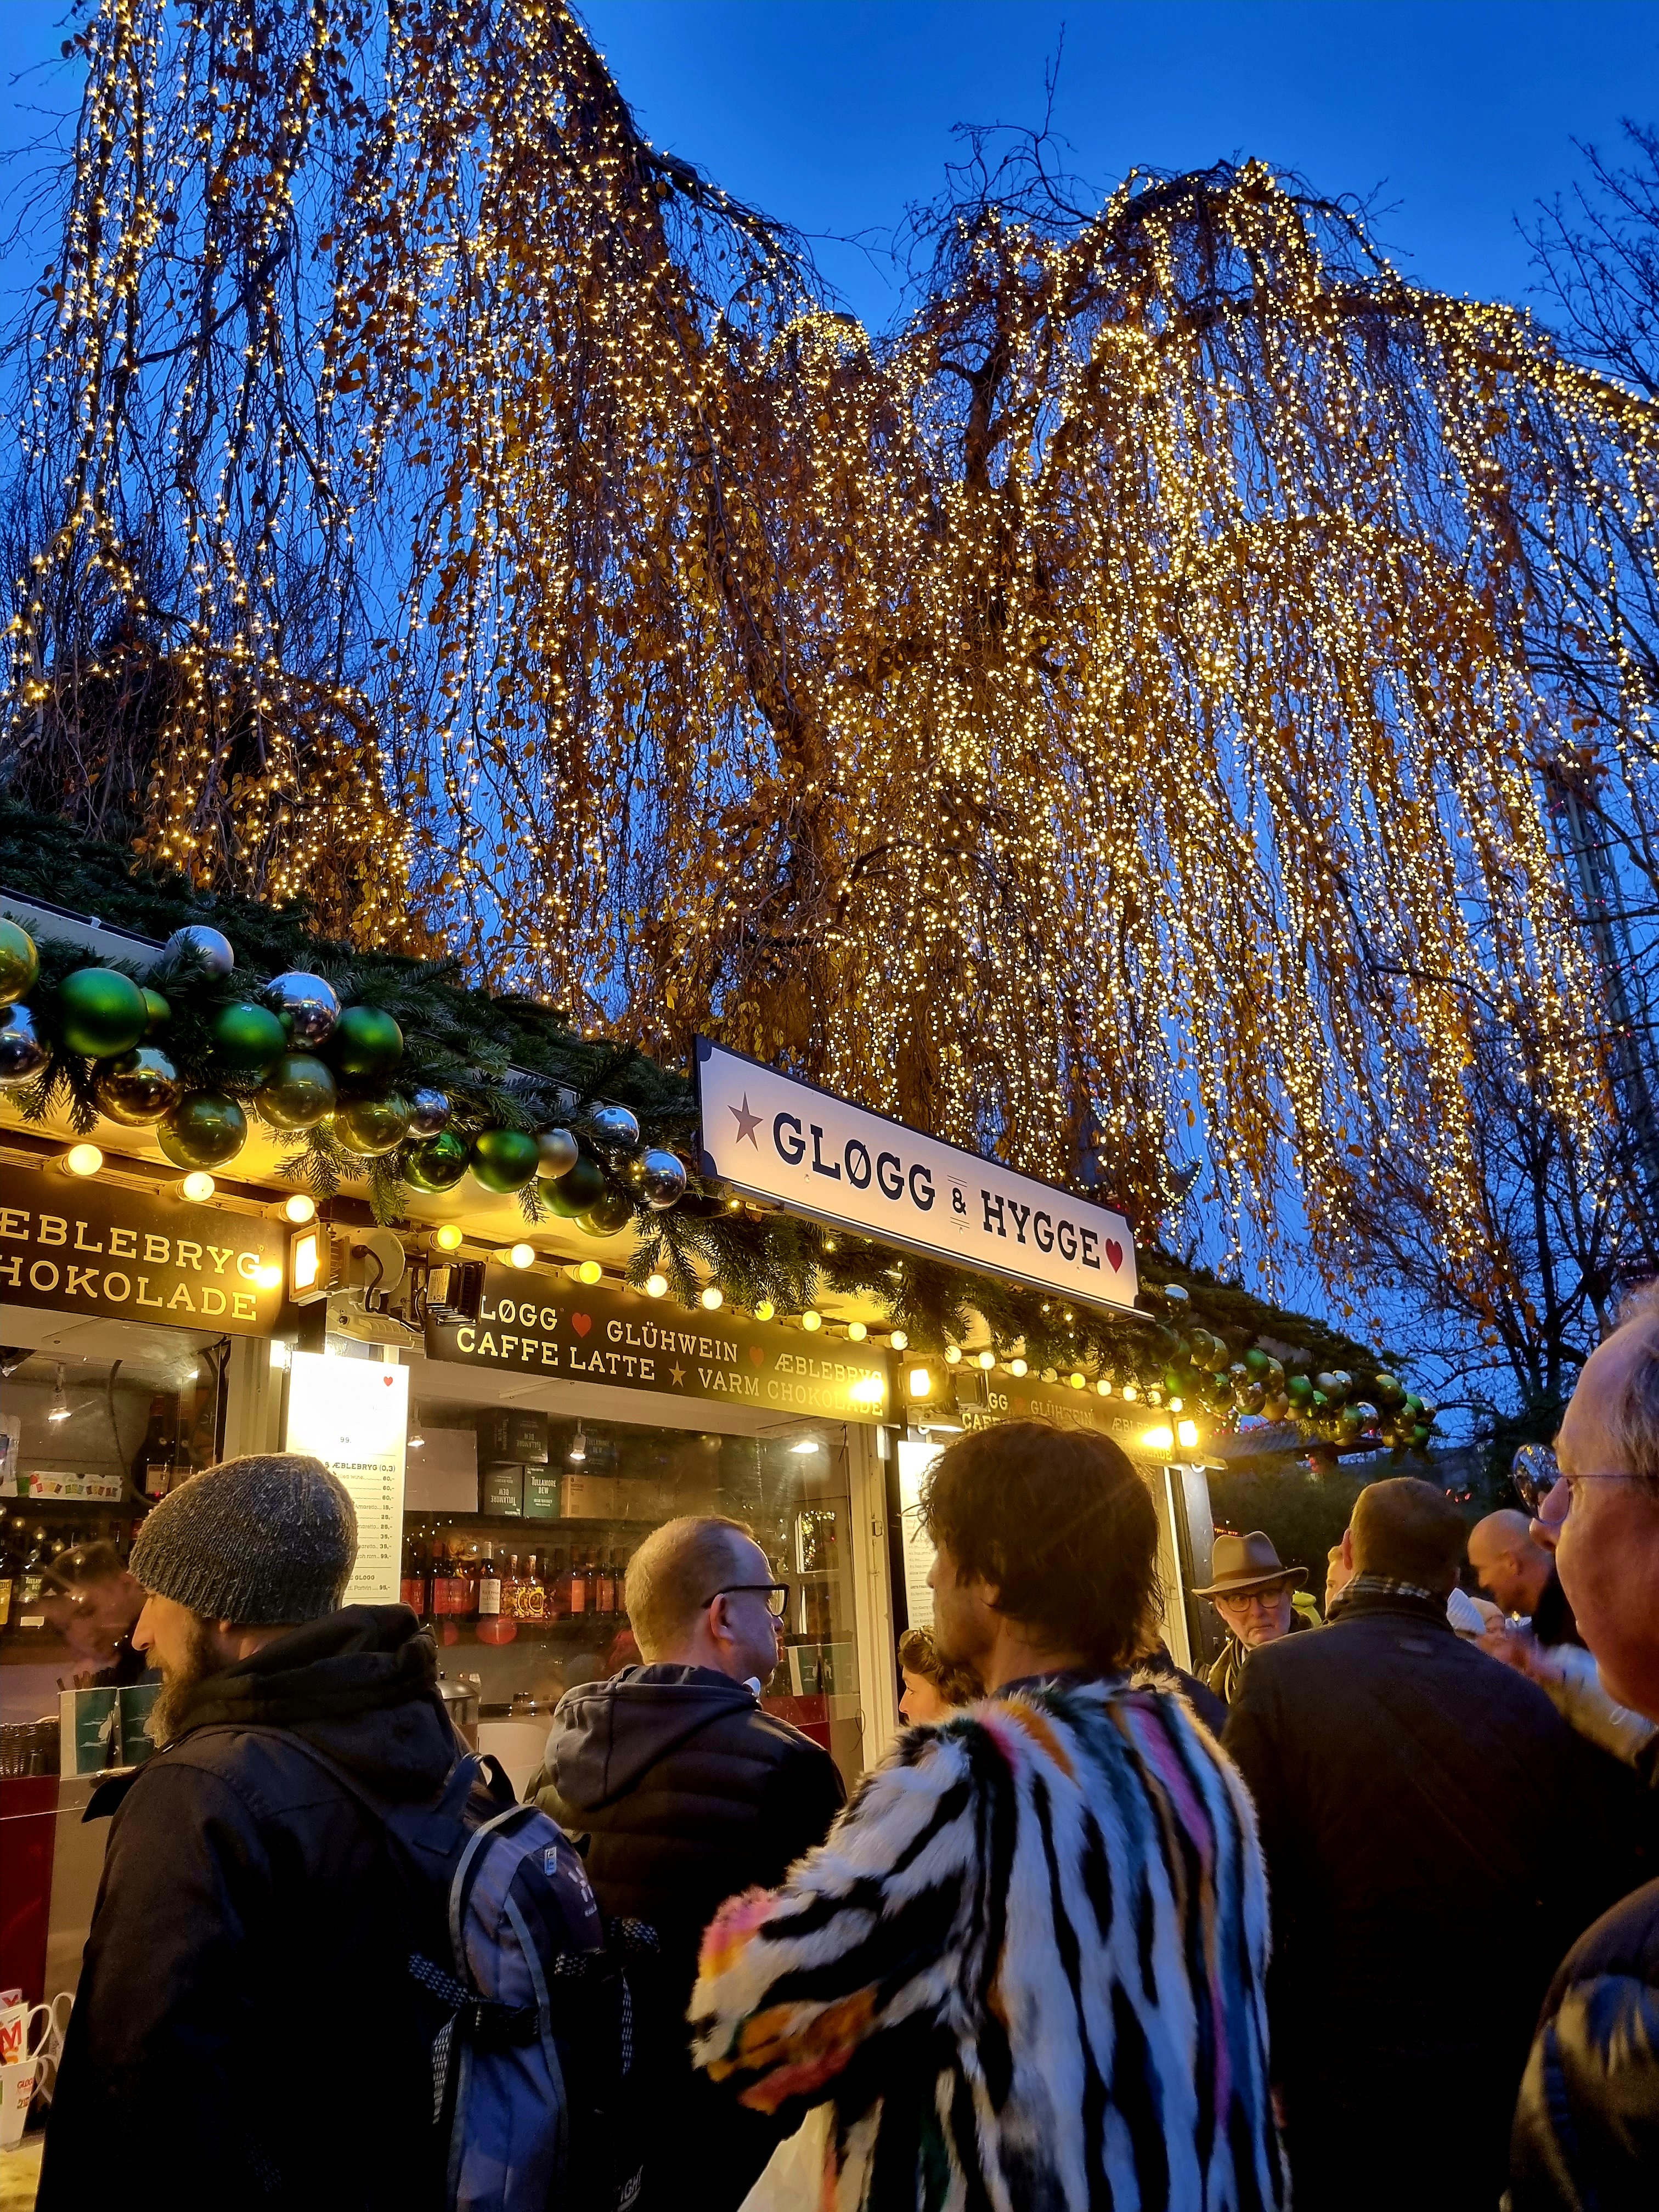
Christmas in Scandinavia is the most magical of seasons; think of warm white twinkling lights, little wooden chalets selling gløgg and bustling markets. As a child I spent every Christmas with my family on the Danish island of Sjælland, learning to cook festive food and helping to decorate my cousin’s farm with natural materials such as sprigs of pine and greenery and twining lengths of ivy around plain white pillar candles. Making paper ornaments was a family tradition, and whilst weaving long paper strips into 3D stars can seem terribly complicated the first time you make them, once you have mastered the knack it can very relaxing! It was actually these paper stars (or julestjerner), that inspired me to start my business, hyggestyle.co.uk, as I thought that if I was having such problems sourcing Danish craft materials other people might want them too!
The Danish legend I love most is that of the “nisser” or elves, figures from folklore that live in farm buildings and are reputed to take care of both the home and the livestock. Slightly short of temper, they are helpful when treated well, but woe betide anyone who takes them for granted. Many people still leave out a bowl of rice pudding on Christmas Eve so the nisser don’t tie the tails of their cows together or hide their shoes (they love it served with butter). These little fellows can be found everywhere at Christmas, dressed in red and grey woollens and their signature red pointy hats.
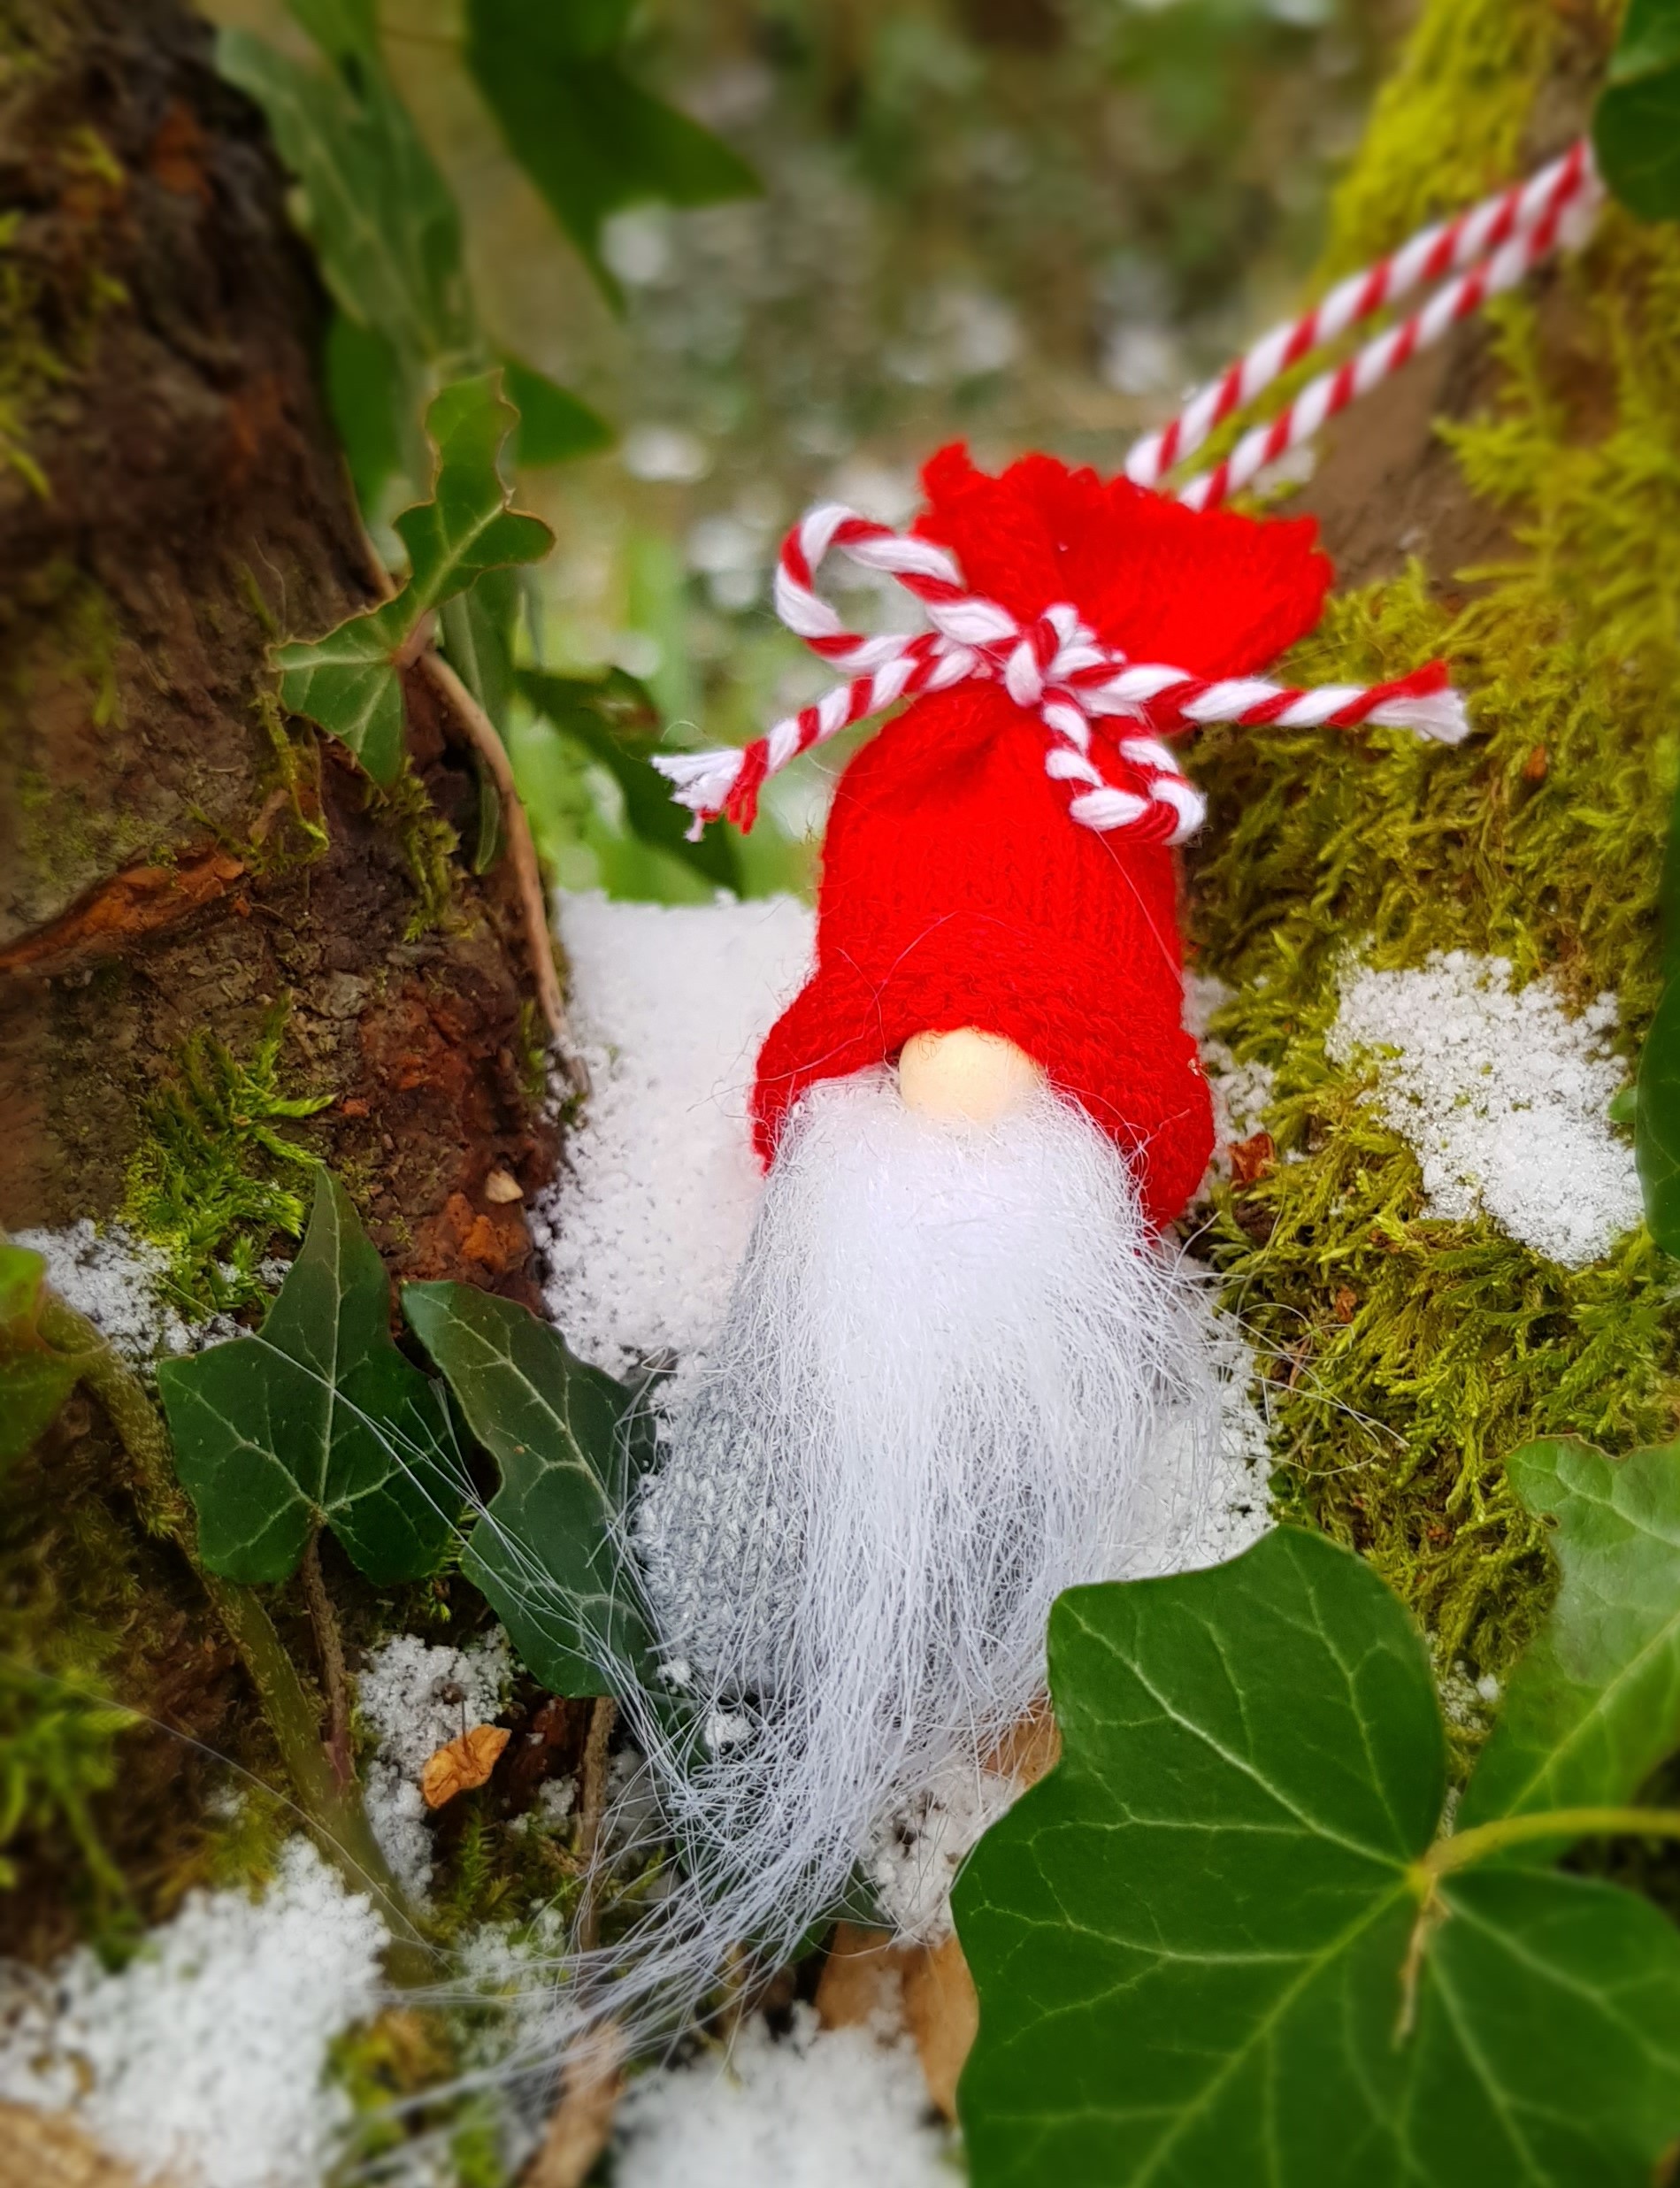
Quick nisser tree ornaments can be created in just a few minutes; best of all, they are a great way of upcycling all those lonely single gloves stashed in the back of your winter clothes drawer! They look adorable as an embellishment on a special gift or glued onto brooch backs.
Materials
2 gloves in different colours
Rice or cotton wool
Small elastic bands
Baker’s twine or ribbon
Hot glue gun
10mm wooden beads
Little bells
15mm brooch backs (optional)
-
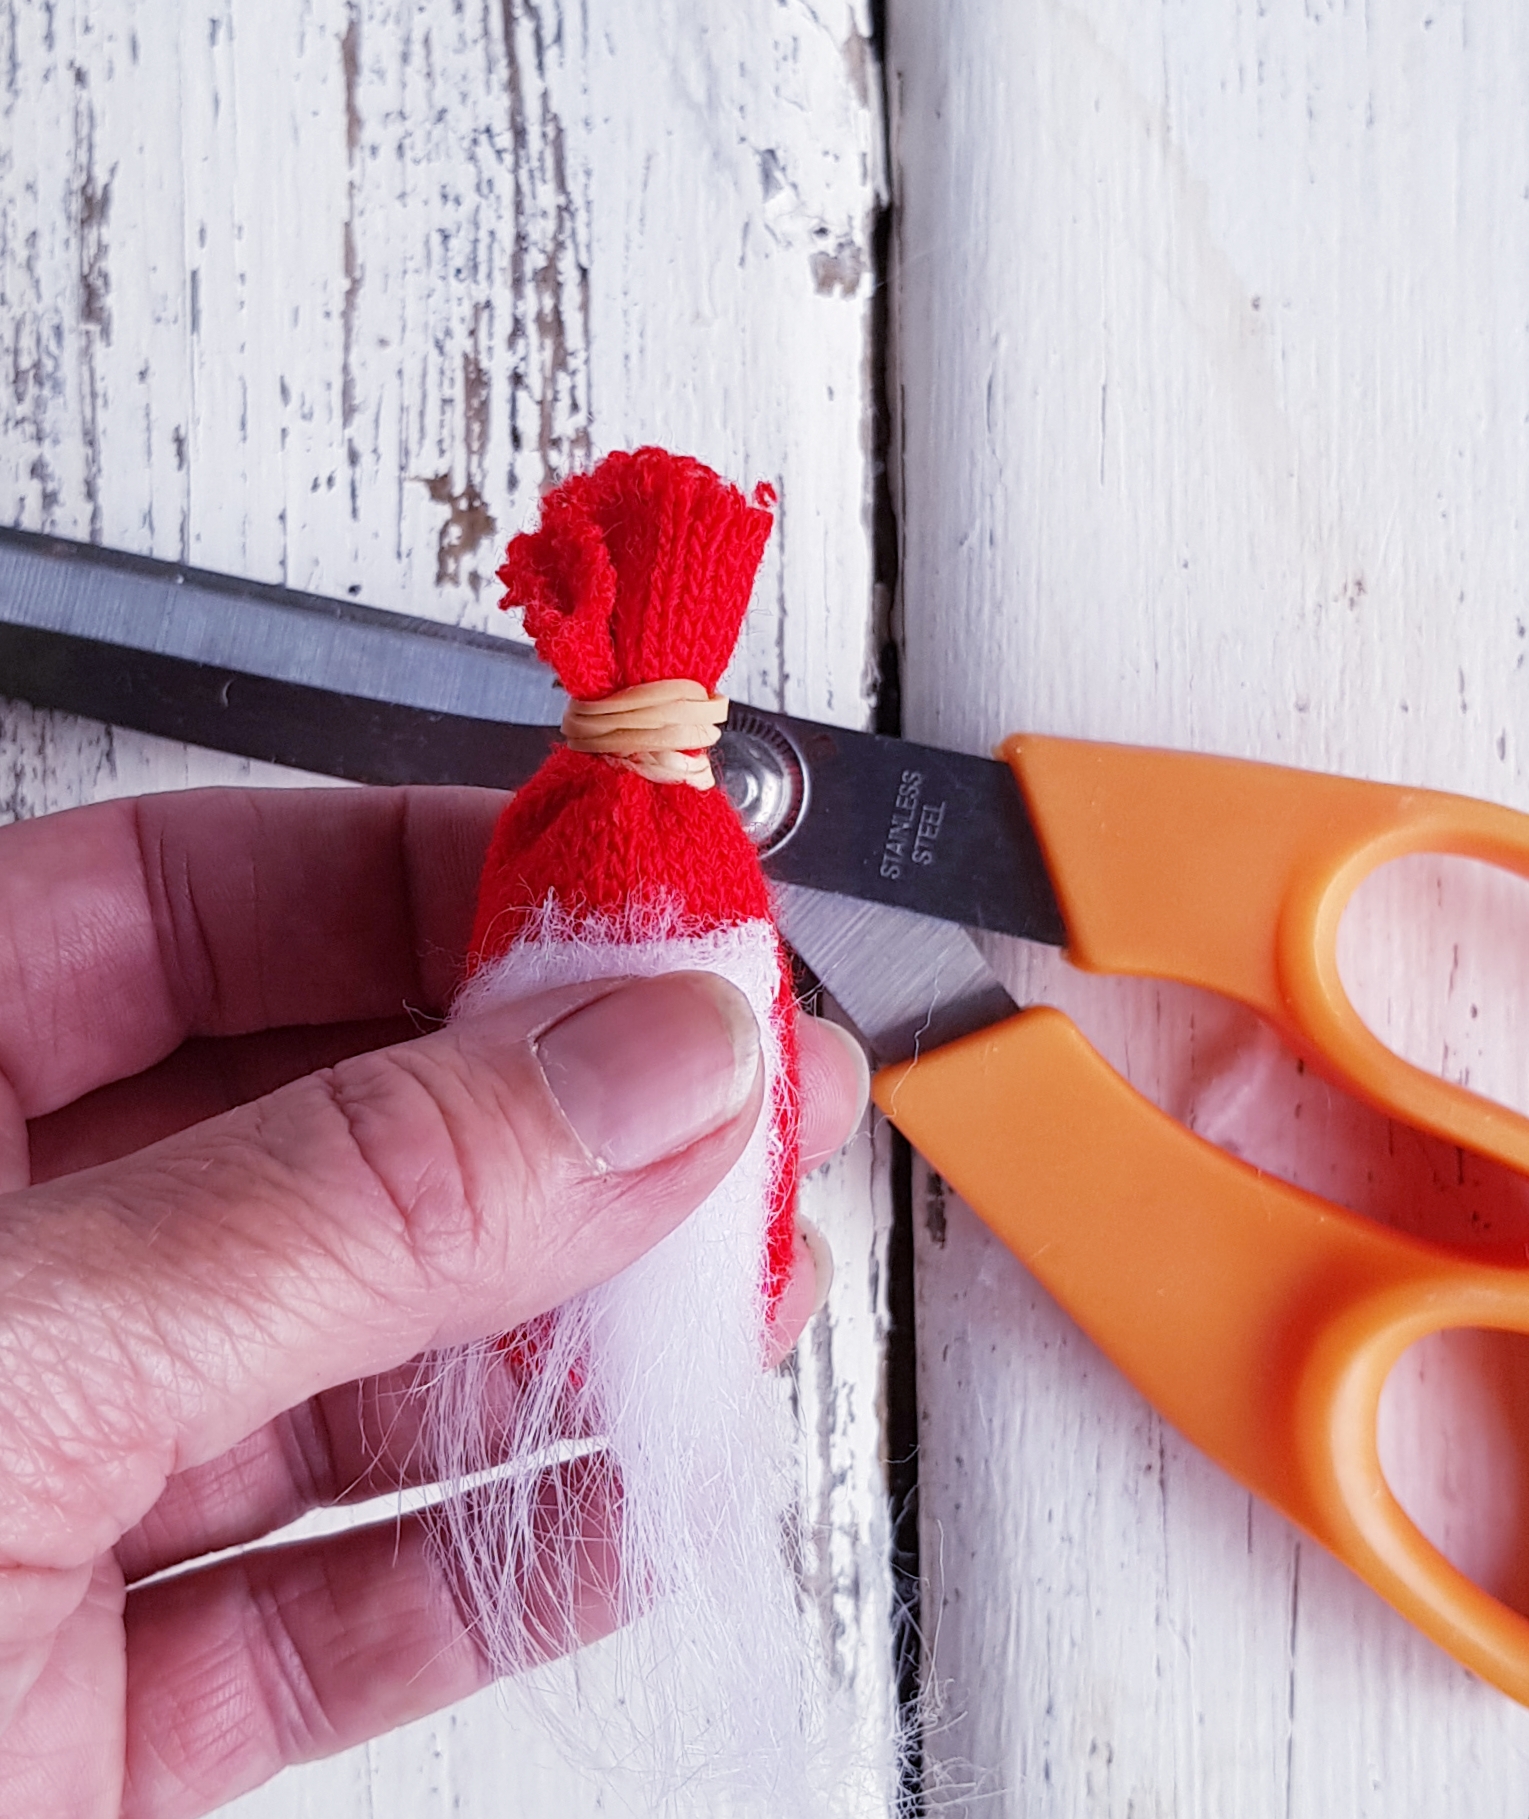
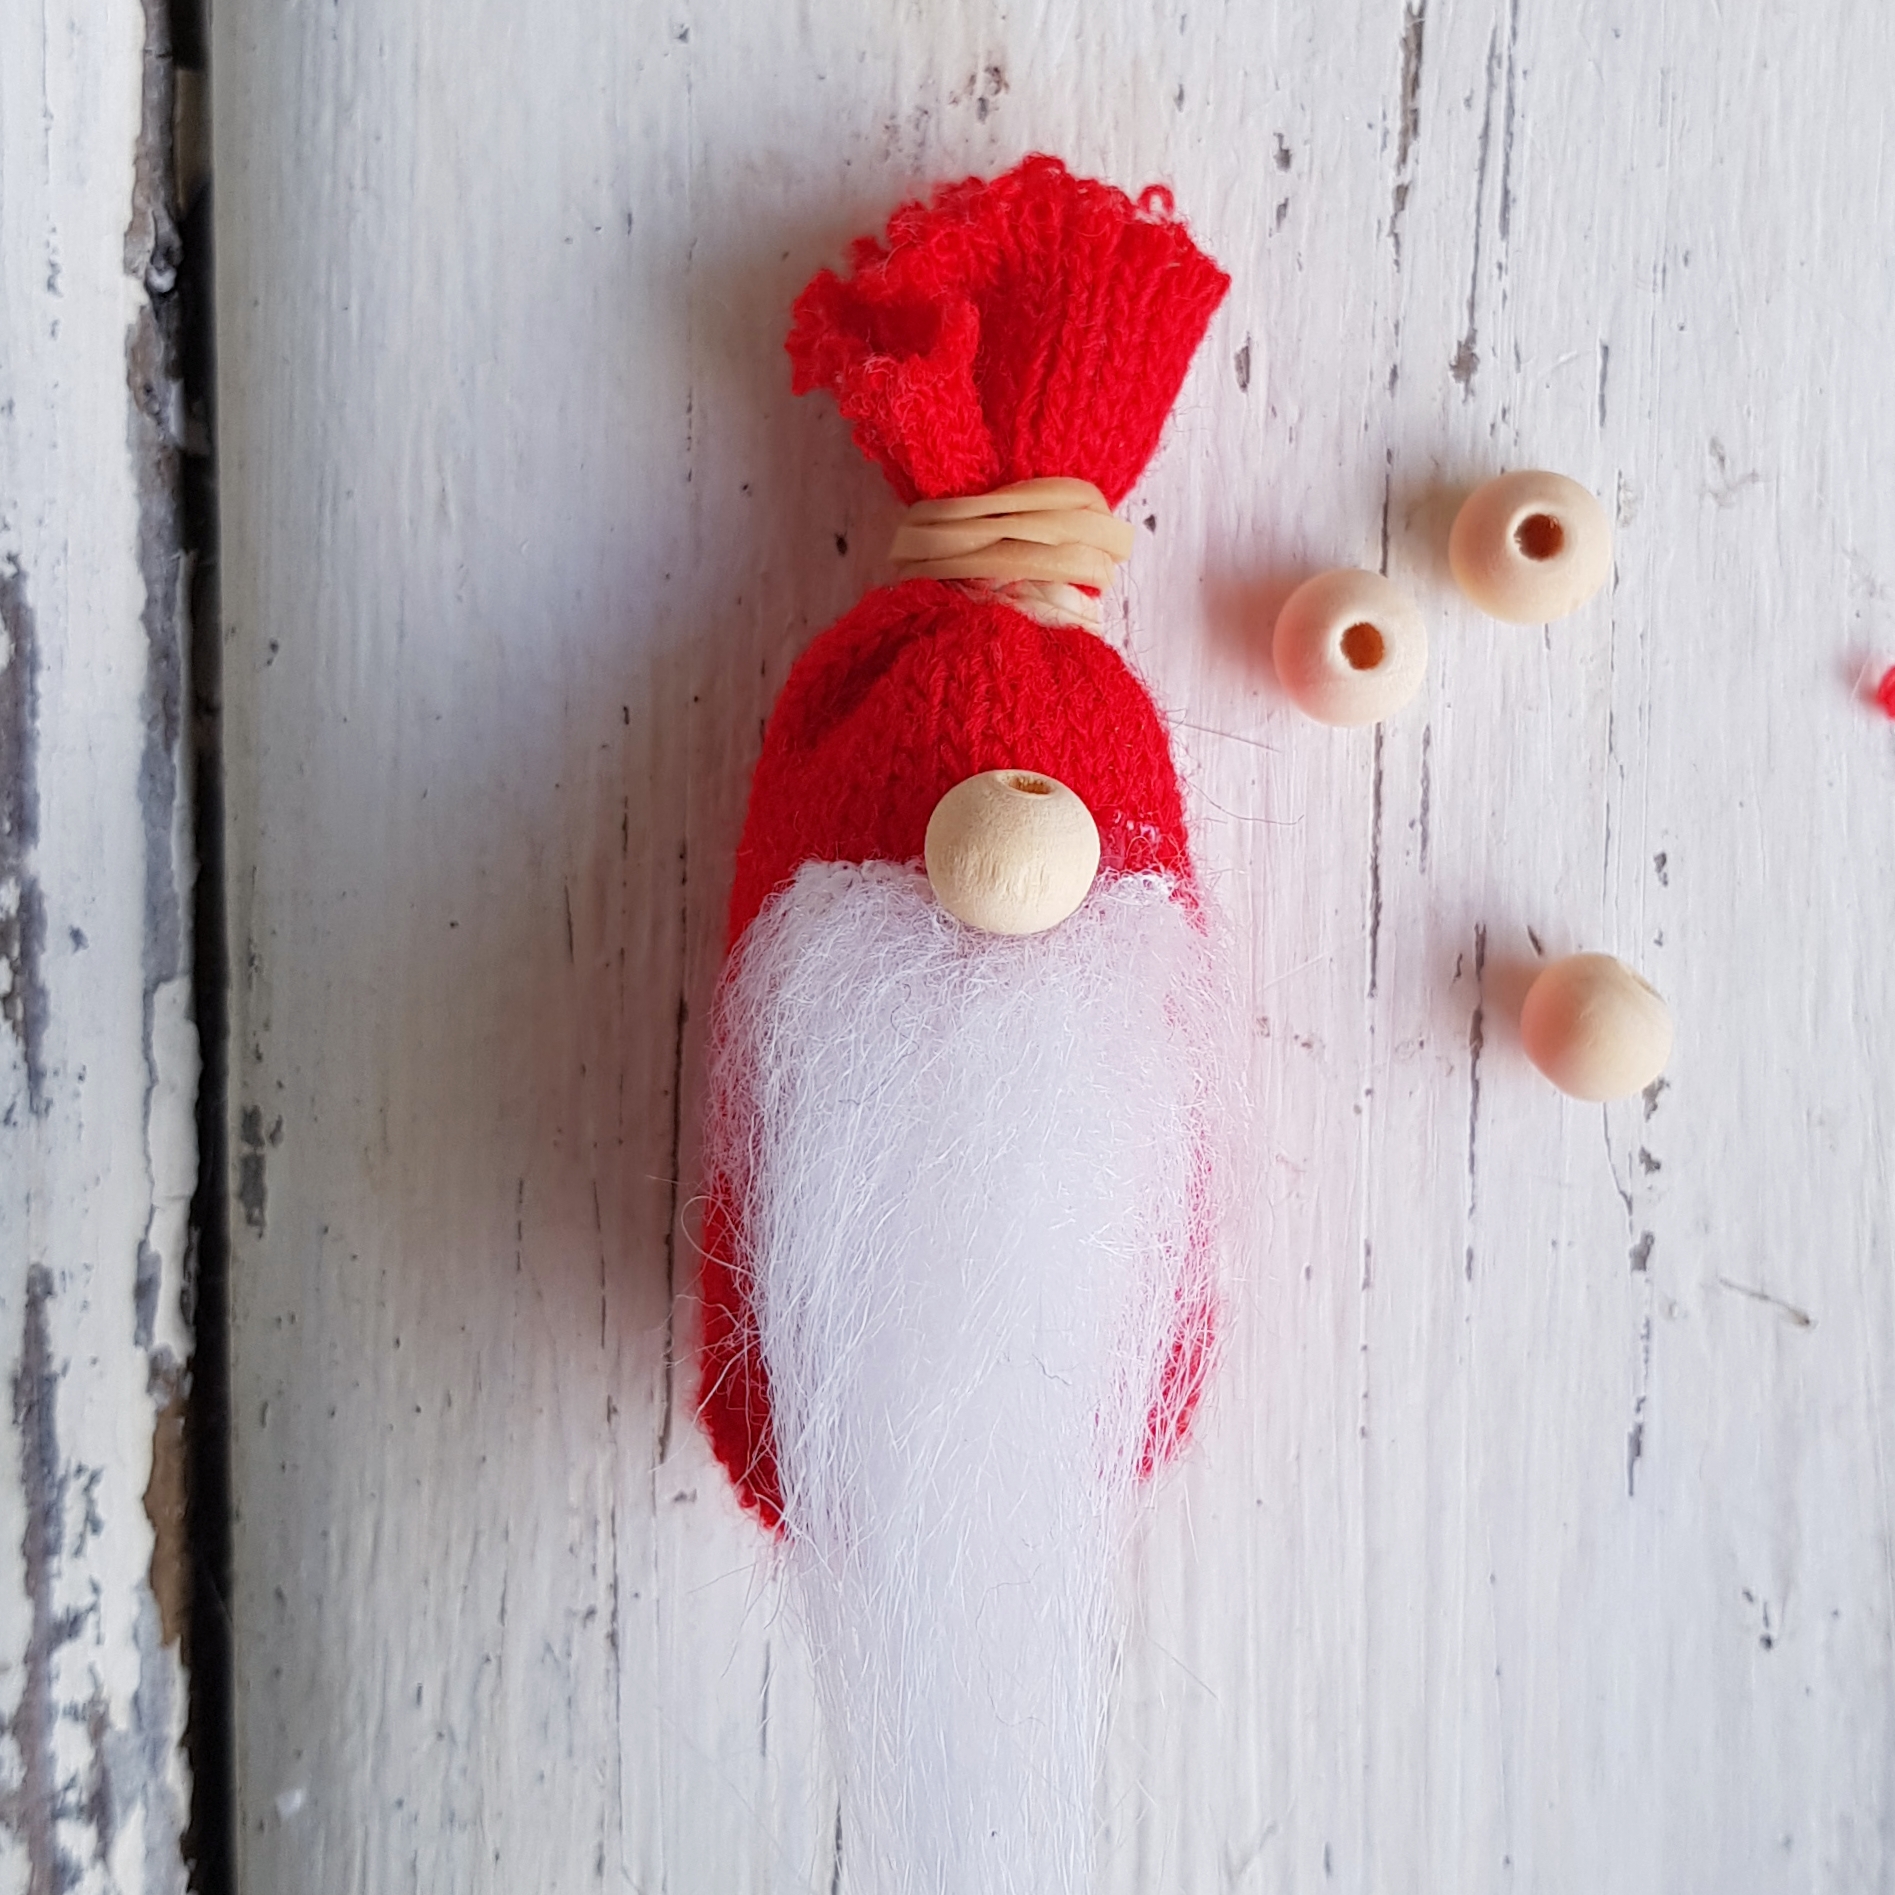
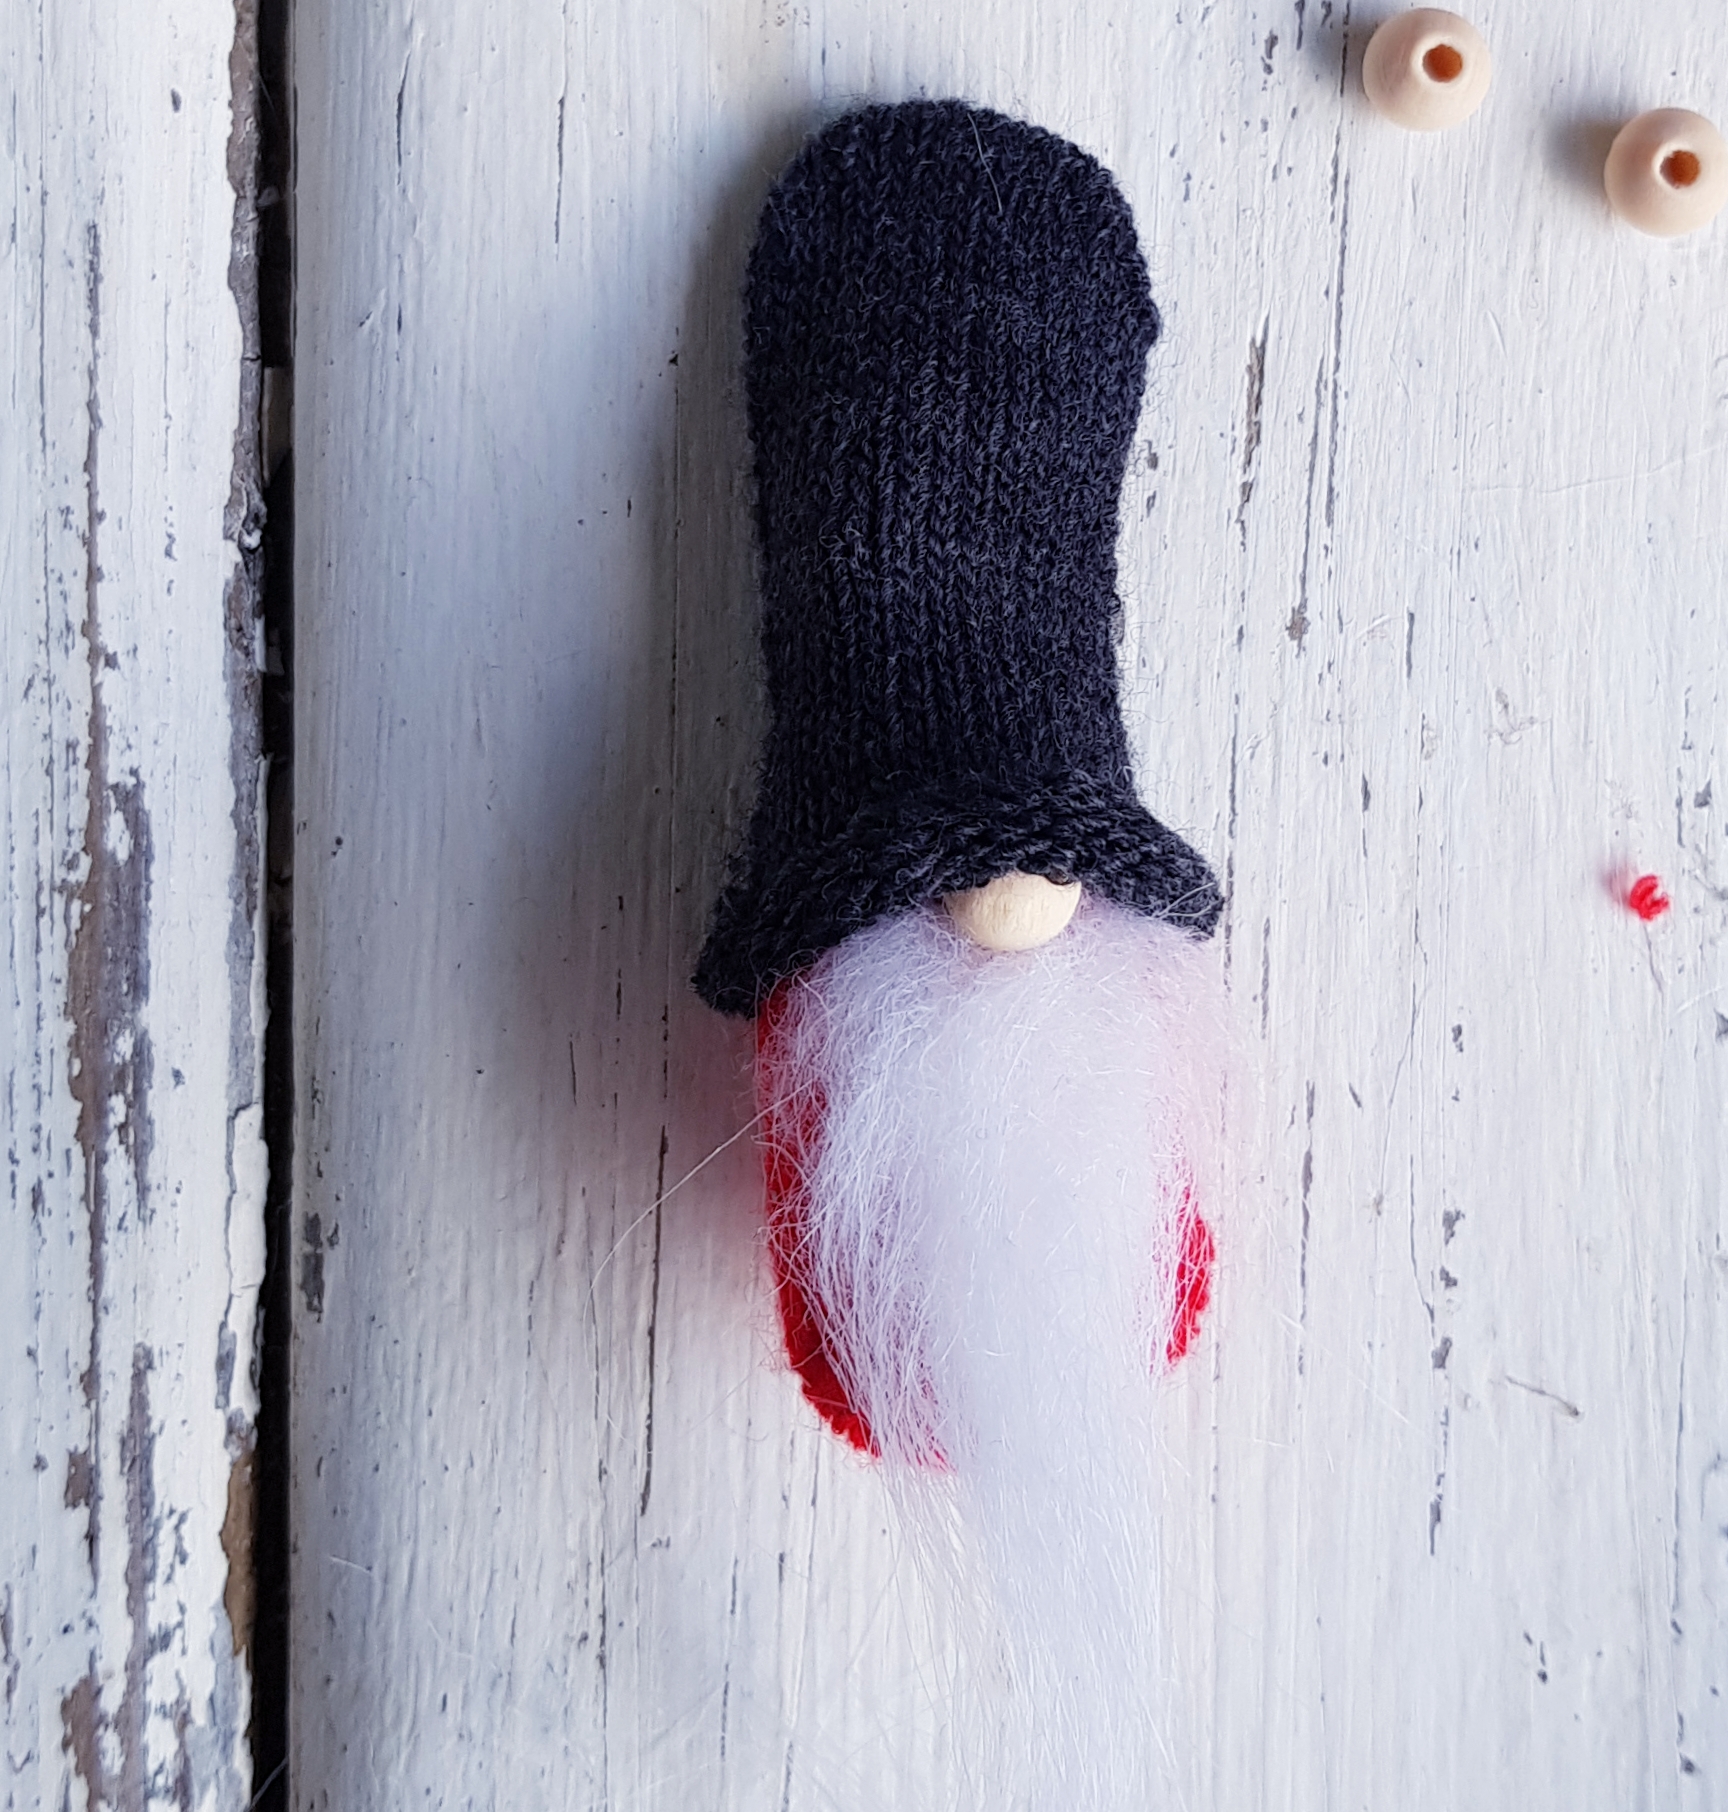
Snip one of the fingers off a glove, and three-quarters fill with cotton wool/rice to make the base.

-
Tie with a small elastic band or some cotton thread and then add a dab of hot glue to secure it.
-
Cut a finger from your second glove for the hat, then fold the cut edge over twice to make a brim. Apply a scant line of glue under the brim to fix it in place.
-
Cut a piece from the faux fur roughly 2cms wide and 2 cms long, tapering down to a point. Glue on to the body about half way up.
-
Glue the nose to the top edge of the beard, ensuring the lower hole is angled back in towards the beard.
-
Snuggle the hat down over the body. Add a blob of hot glue at the back to attach it firmly and then again on either side of the nose, pulling the hat down and pressing it down on both sides of the bead.
-
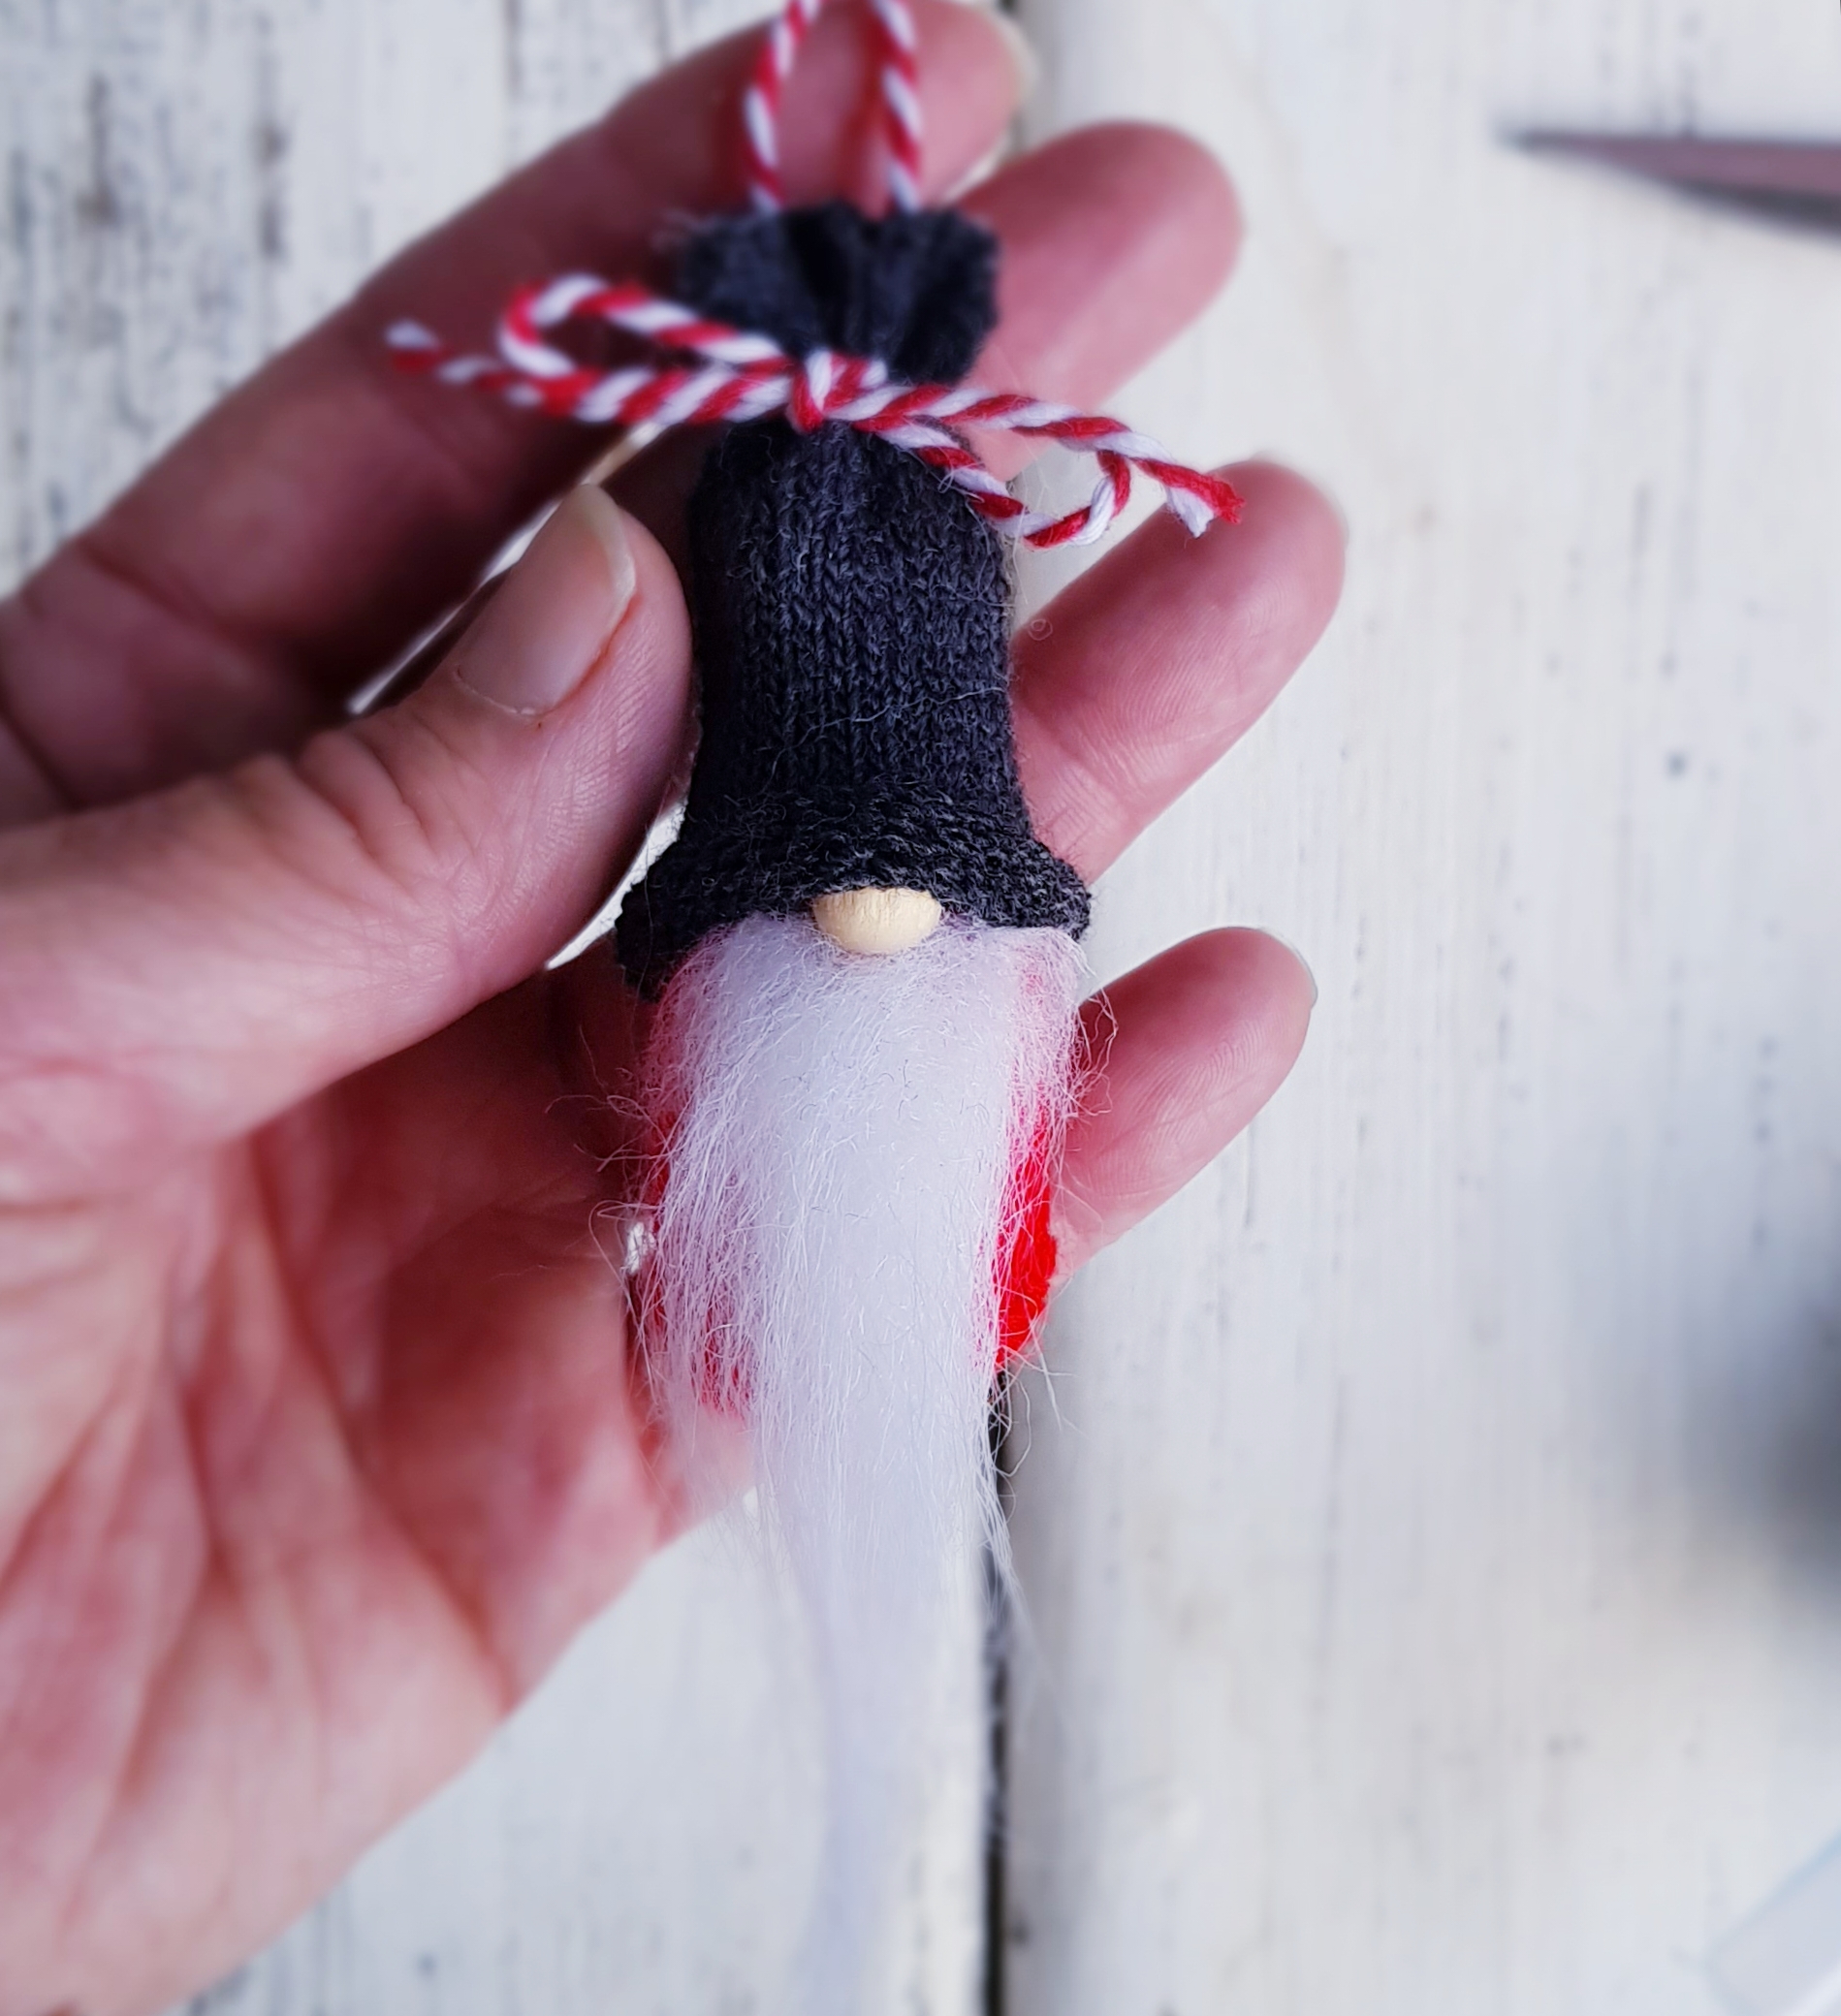
For a hanging gnome, snip the top off the hat. Add a blob of adhesive inside the finger, and attach a 10cm piece of baker’s twine to form a loop. Allow to dry and then tie the top of the hat with ribbon or more twine.
-
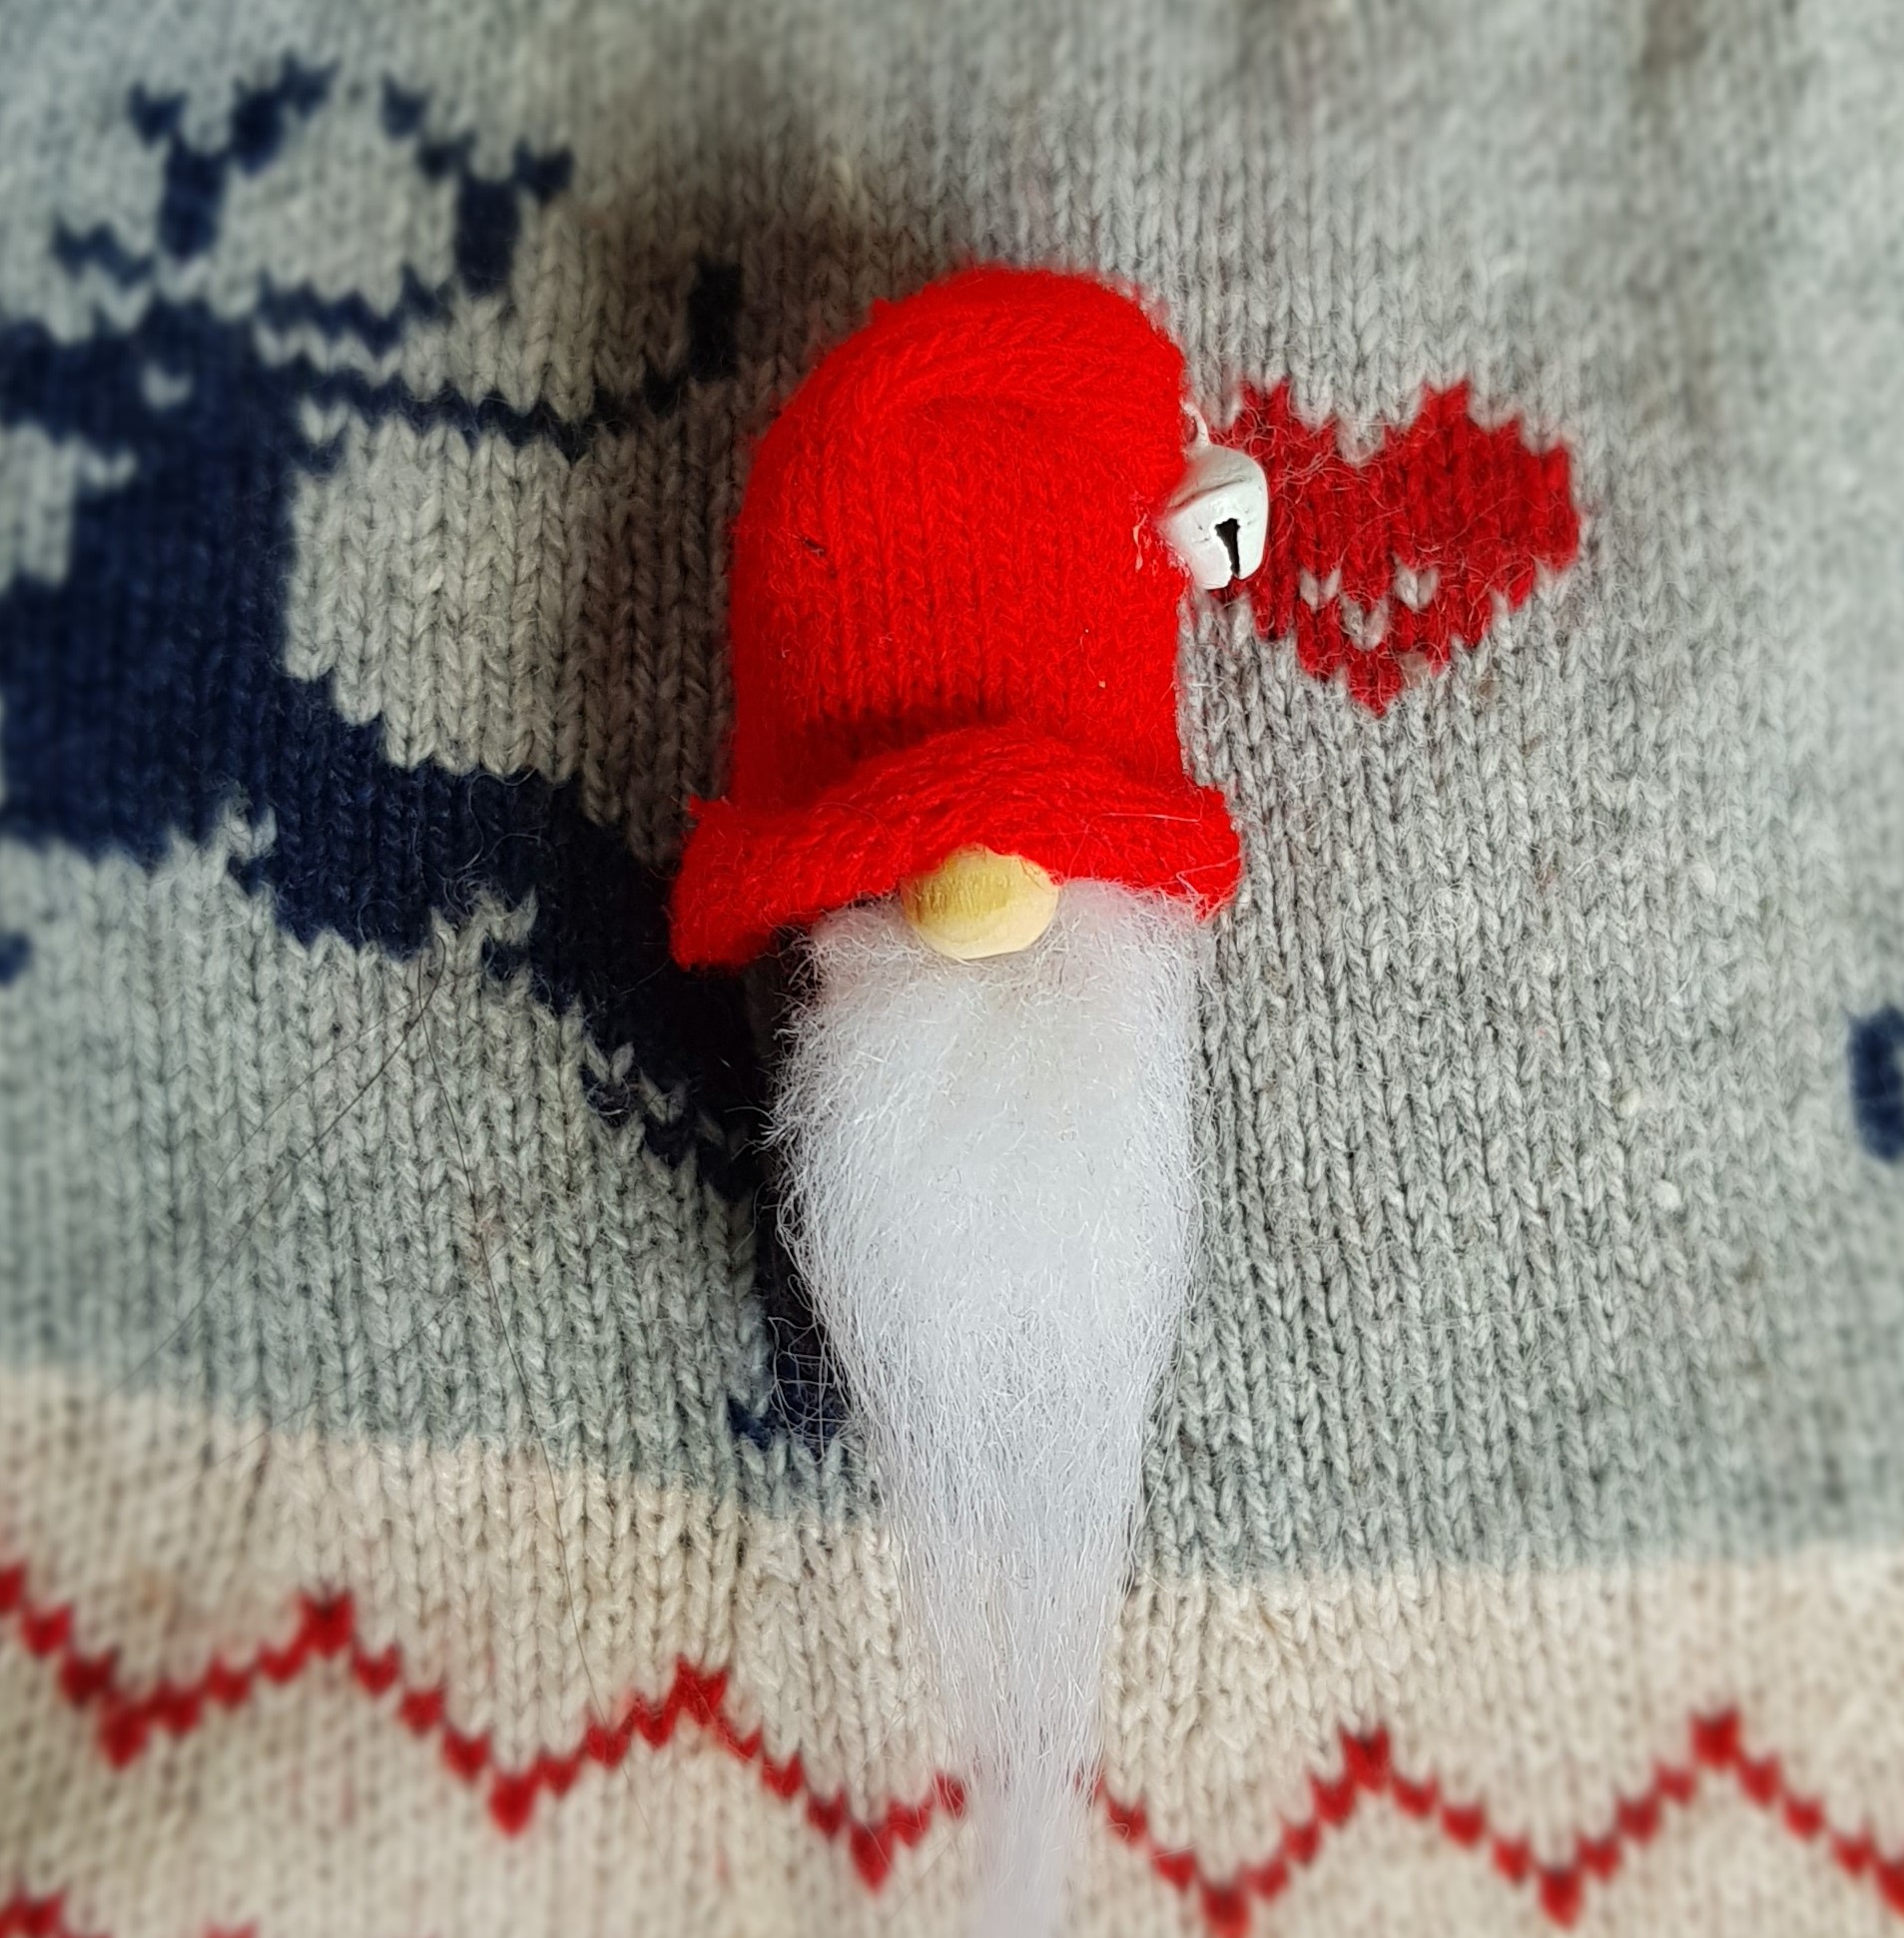
To make a brooch, glue the tip of the hat down at an angle, then stitch on a little bell.
-
Glue or stitch the brooch pin on to the back of the gnome.
……………………………………………………………………………………………………
……………………………………………………………………………………………………

Craft Your Own Cosy Scandi Christmas is available to order here.